Buzzing Bee Painted Rocks
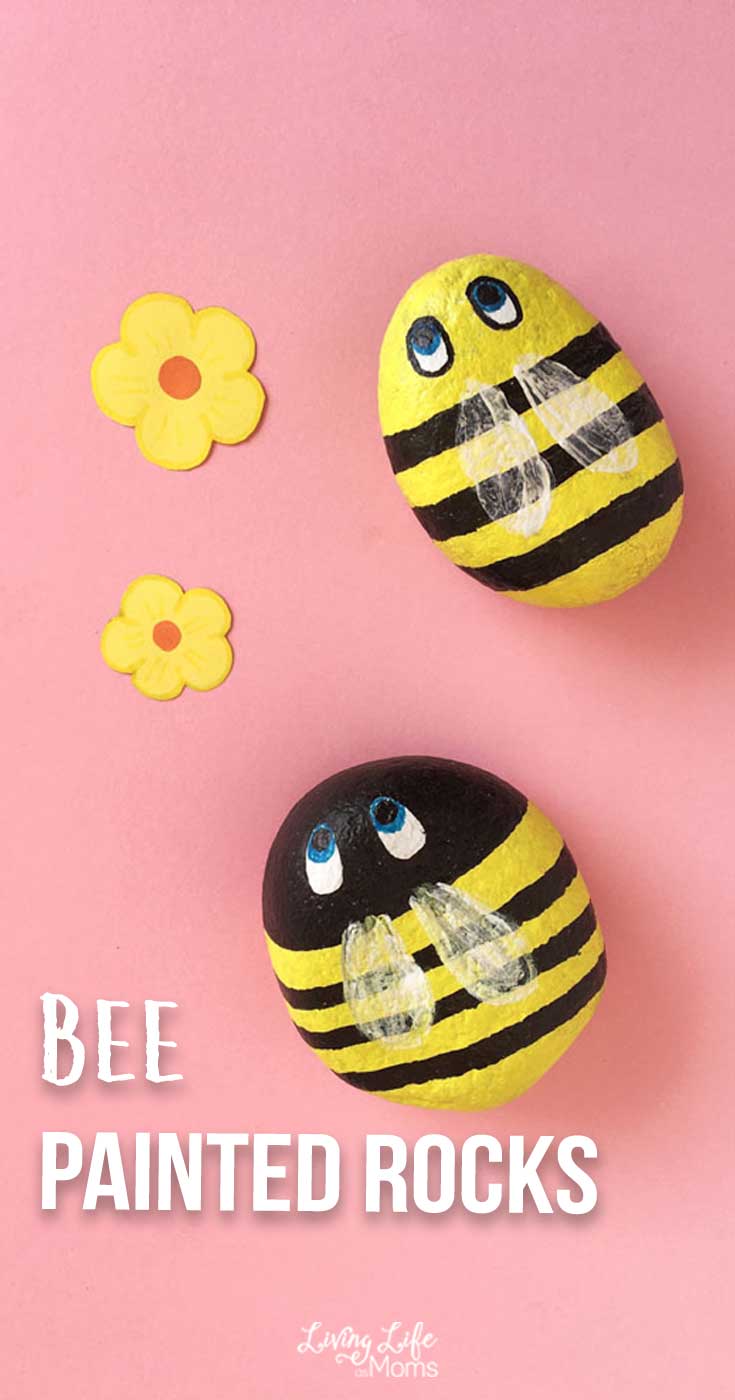
Celebrate spring with a splash of color and a reminder of the bright days to come. These buzzing bee painted rocks are a fun way to welcome warmer days. And they’re super simple too, even if they take a bit of time to finish. That means you’ll have time to paint a full hive if you wanted! Let’s get busy and paint some buzzing bees.
We love rock painting because it’s such an instant and simple craft. The kids can literally go outside and find the perfect rock to paint and that’s all we really need to get started. I always keep an extra stash on paint on hand so it makes it super simple and fun. If you’re looking for some easy painted rock ideas, you’re going to love how simple it is to paint bees on rocks!
“Bee” certain to check out our Flower Painted Rocks Craft as well!
Buzzing Bee Painted Rocks
The best part about this painted rock activity is that it’s really simple and fast to do. You’ll love having the option to make this as simple or as detailed as you want and this means that all ages are welcome to join in on the painting fun.
First you’ll need to choose some stones. We like the medium sized, smooth flat river stones you can pick up at any craft store. But you can use any kind or size of stone you like. Just make sure you wash it thoroughly and make sure it’s completely dry before you start painting.
The bees will look better if you choose round and smooth stones. A smoother surface on the stone will make it easier to paint and to get the details right.
You’ll need to prep an area to paint your stones, where you can leave them to dry undisturbed between layers. When planning your painting session, you’ll need to allow for at least 15 minutes for drying between each step. We recommend using a plastic covering for your surface, like a thin plastic disposable tablecloth or garbage bag. That way, the stones won’t stick to your surface or have something stick to them.
You’ll also need a couple of different sizes of paint brushes — one medium sized and a smaller one for the detail work. We used four colors of paint for our bees — white as a base, yellow and black for the body, and just a bit of blue for the eyes.
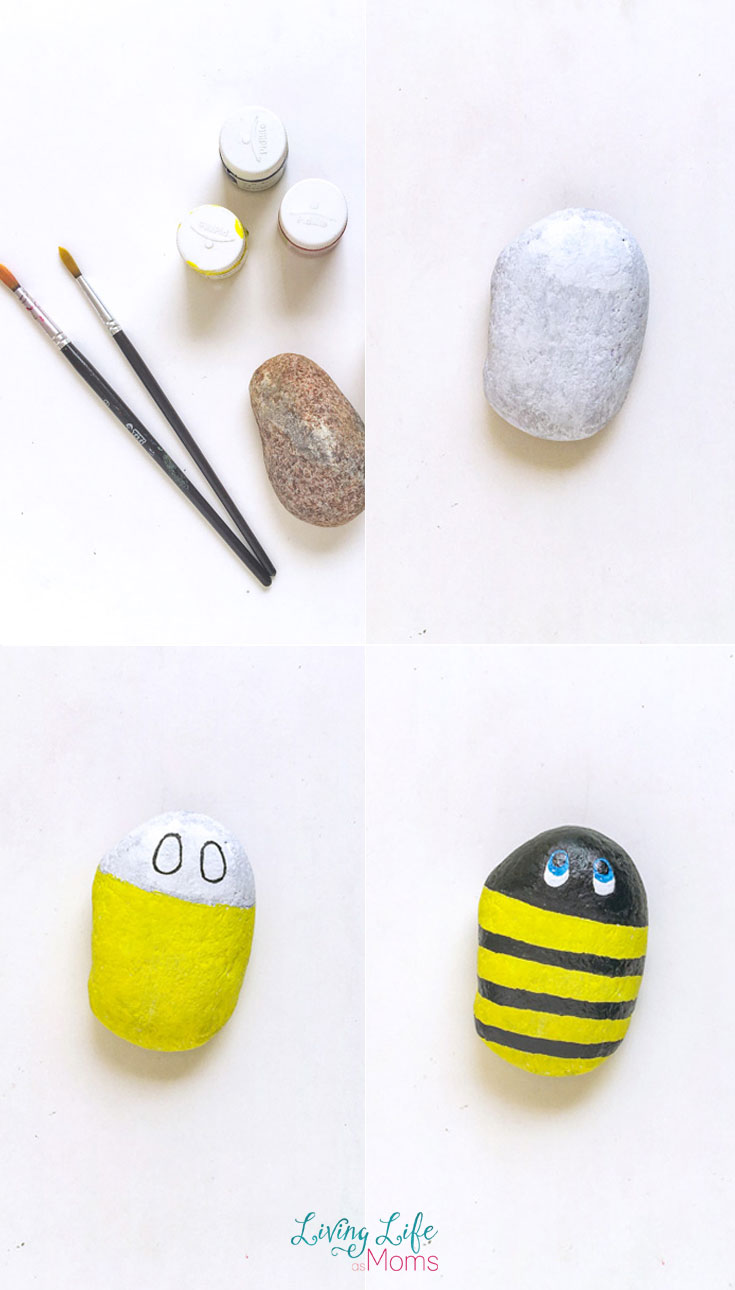
The first thing to do is to cover your stones in white paint. You may need two coats to get decent coverage. Remember to let each coat dry thoroughly between painting sessions.
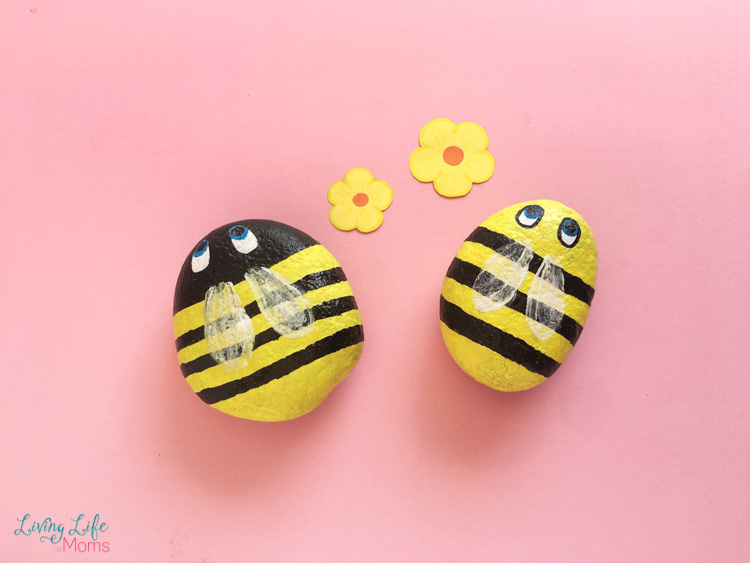
Once you have the base coat done, paint ⅔ of each stone in yellow and ⅓ in black. Before you do the black head, use a pencil to draw on the ovals for where the eyes will be. Then paint on the eyes and the stripes. Finally, use white paint again to draw on the wings.
Remember to let each layer of paint dry COMPLETELY before painting on the next layer. Otherwise your buzzing bee painted rocks will smudge and won’t look as nice.
Here’s a printable version for you!

Bee Painted Rocks
A fun easy craft for children of all ages, to celebrate spring with a splash of color and a great reminder of the brighter days ahead.
Materials
- 2 medium sized clean, flat, smooth stones (think river rocks!)
- black acrylic paint
- yellow acrylic paint
- white acrylic paint
- blue acrylic paint
Tools
- plastic tablecloth or garbage bag
- paper plate
- pencil
- 1 medium paintbrush
- 1 small paintbrush
- ruler
Instructions
- Prep your painting area, with space for the stones to dry undisturbed between steps. Cover your surface with your plastic covering, and use the paper plates to hold your paint.
- Using white paint, cover each stone completely. Let dry. If not completely covered after they have dried, do a second coat.
- Using yellow paint, cover ⅔ of each stone. Leave ⅓ white. Let dry completely.
- Use the pencil to draw two small ovals on the white "head" of each bee.
- Using black paint, cover the "heads" of the bees, except for the ovals. Let dry completely.
- Use the ruler and a pencil to divide the yellow portion of each bee into stripes.
- Use the small brush to paint every other stripe on the yellow portion of each bee black. Let dry completely
- Now use the small brush to paint in the eyes of each bee in black and blue paint.
- Use the white paint and small brush to outline the wings on each bee. Let dry completely.
- Once they are dry, place in the garden to enjoy or hide on a trail to surprise others!
Notes
It's important to make sure the paint dries thoroughly between steps! Otherwise the bees will smudge and the paint will come off the rock.
Recommended Products
As an Amazon Associate and member of other affiliate programs, I earn from qualifying purchases.

What do you do with the bees after?
Painted rocks are lots of fun in the garden, along the sidewalk, or hidden throughout your yard. You could also take them along on walks in your neighbourhood or local park, and hide them for other people to discover.
There are a lot of neighborhoods now that are hiding painted rocks as a fun way for other people to find them and make them smile. Have fun with these buzzing bee painted rocks!
You’ll also love these super cute ladybug rocks that you can do with just a few simple steps.
More Painted Rocks
Want more painted rock crafts? Check out these posts!


[…] Buzzing Bee Painted Rocks […]