Essential Oils Rainbow Surprise Bath Bombs
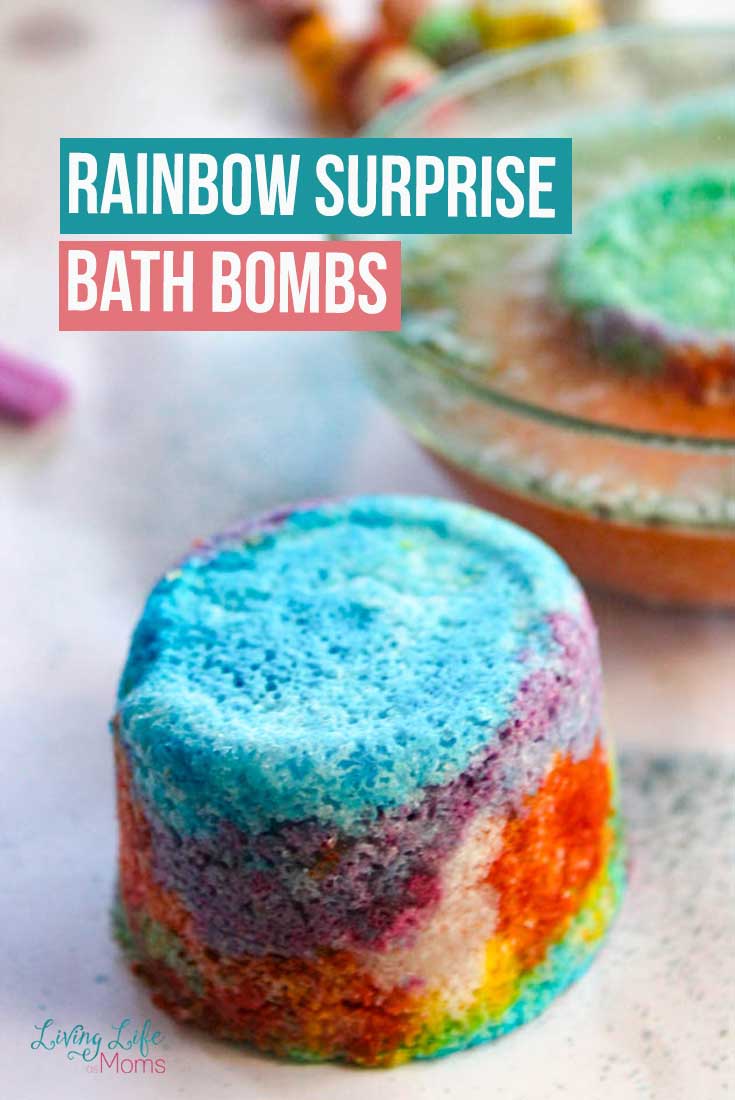
Give your kids a fun bath with a little surprise inside. The best part is by making these Essential Oils Rainbow Surprise Bath Bombs yourself at home you know that the ingredients are safe for your sweet kids and you can also customize the scents, colors, and shape.
See related: Best Homemade Bath Bombs
You can either make it by yourself to surprise your little bather or include them in on the fun and let them help mix, measure, and create as well.
Bath Bombs are super fun to make and they’re really a lot of fun to create as well. You’re going to love how they look and that they’re fun for the kids to use, too. This just might make bath time a lot more fun! You might not have to beg them to take a bath any longer once you have these DIY bath bombs on your side.
No matter if you’re making these homemade bath bombs for the kids or for a fun gift for a friend, you’re going to love the look and smell of these simple DIY bath bombs!

Essential Oils Rainbow Surprise Bath Bombs
Once you start making your own bath bombs at home, you’re going to love how they look and smell and you just may not ever have to buy another one at the store ever again!
Being able to use essential oils in your bath bombs is such a fun scent!
Essential Oils Rainbow Surprise Bath Bombs Ingredients
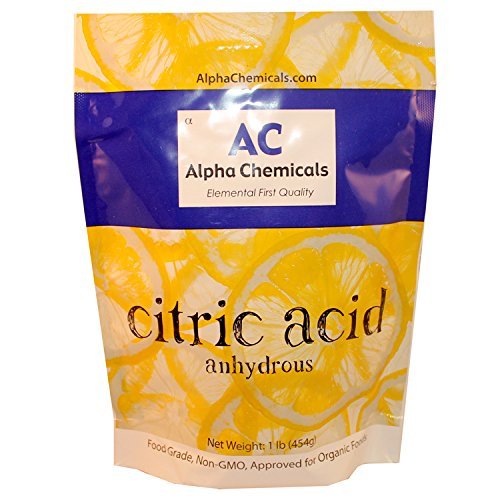
- Citric acid
- Cornstarch
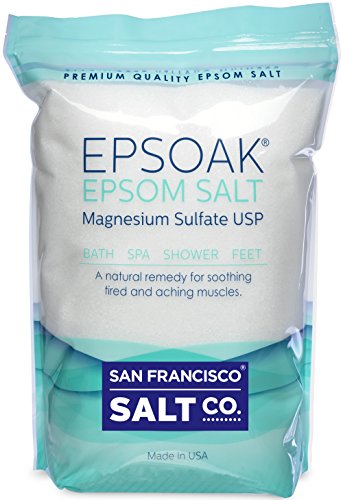
- Epsom Salts
- Coconut Oil
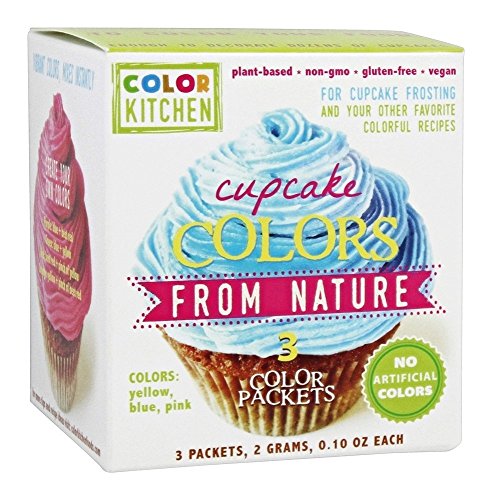
- Coloring
- Lavender Essential Oil
- Water


Citric Acid – 1 Pound – Food Grade ColorKitchen Cupcake Coloring Set (PINK, YELLOW, and BLUE)Epsoak Epsom Salt 2 Lbs – 100% Pure
You will also need:
- A bowl
- Spoon
- A mold or container to use as a mold
- Small toys or other objects to put inside
Make certain that whatever you add on the inside of the bath bomb that it’s safe for your child to have near them in the tub. You can also use any mold that you want as well so this leaves the potential to have bath bombs of multiple shapes being made.
Essential Oils Rainbow Surprise Bath Bombs Directions
The main thing to keep in mind when mixing this bath bomb recipe is that you need to mix the ingredients very well.
Then once you have them mixed, dividing them up is going to be key. You’re going to do this so you can add in the coloring. And the more coloring that you add, the more of that rainbow look that you’re going for you’re going to get.
You can even mix colors to get some cool and unique colors, too.
The other big thing that you’re going to have to worry about is packing the mold tight enough so that the molds hold their shape. Even though they might break apart the first few times, keep trying. You’ll get the hang of it in no time at all.
As you can see, packing the mixture in tight and then smoothing it over the top is an important part of making these bath bombs at home.
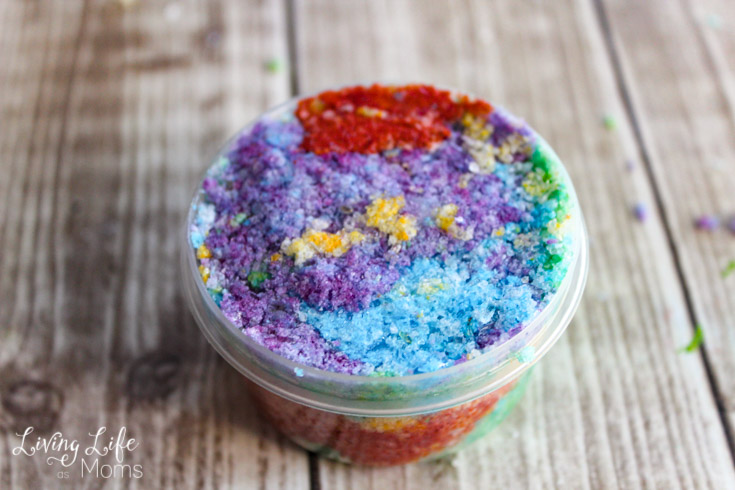
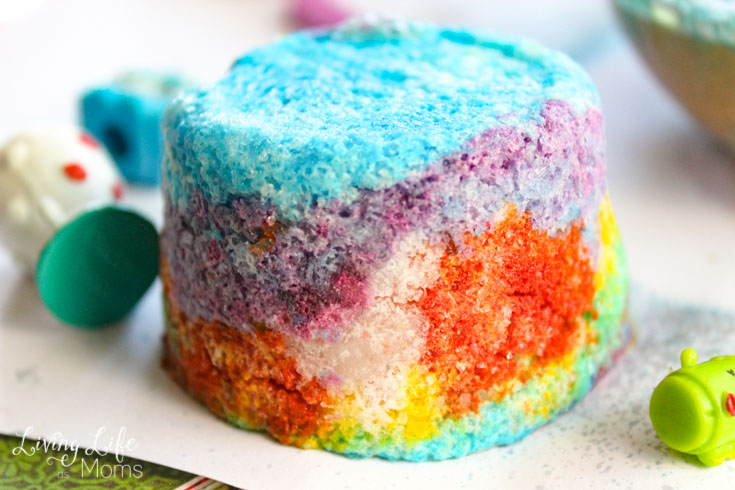
The layers make it unique and fun and don’t forget to add in the toy!

It is going to take about 4 hours or more for the bath bomb to harden so you’re going to have to find some patience in all of this.
Once it does get hard, gently remove and store it in an airtight container until you’re ready to use it later.
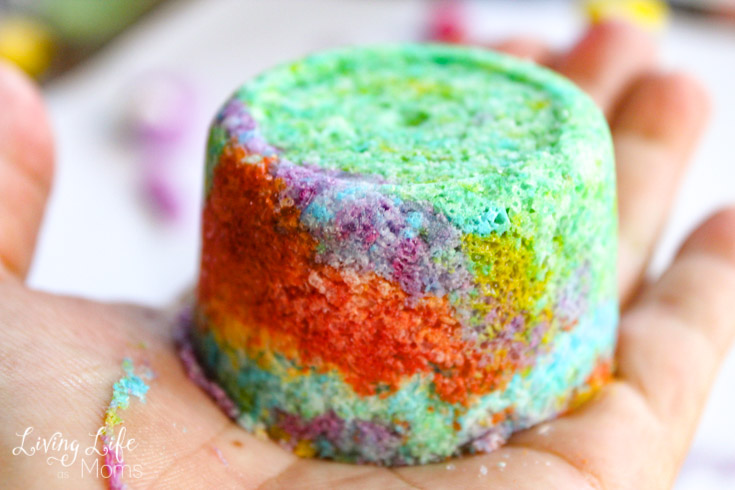
To use: Add one or two to a warm bathtub and watch the fizzy fun as the secret toy hidden inside bubbles out!

These Essential Oils Rainbow Surprise Bath Bombs can be packaged and made into gifts for others. They’re perfect for a simple homemade gift and are so unique and fun!
Thank you for visiting our Essential Oils Rainbow Surprise Bath Bombs post! I hope that this post inspires you to make your own Rainbow Bath Bombs over and over again. When they’re this easy, you just have no reason not to!
More Essential Oils Tips
Essential Oils for Personal Care
How to Choose Quality Essential Oils
Why I Use Essential Oils and You Should Too

Rainbow Surprise Bath Bombs
These rainbow bath bombs will be a colorful delight during for your next bath.
Materials
- 1 cup Citric acid
- 1 cup Cornstarch
- ½ cup Epsom Salts
- 2 T. Coconut Oil
- Coloring
- 15 drops Lavender Essential Oil
- Water in a fine mist spray bottle
Instructions
- In a large bowl combine citric acid, corn starch, Epsom salts, coconut oil, and lavender essential oil and stir until very well mixed.
- Divide your mixture evenly among bowls, depending on how many colors you choose to do. Slowly add a few drops of colorant to each, stirring frequently, until the desired color is reached. This 3 pack of colors are great for making your rainbow bath bomb, just mix colors to make purple, green, and orange.
- Spray each one with one or two spritzes of water, stir and mix with your hands until the mixture just stays together when squeezed. Be careful not to overwet it, or it will activate and start to fizz.
- Begin layering colors in your mold, pressing firmly each time and fill halfway- these little plastic containers came from Dollar Tree 8 to a pack and are the perfect size for kid bath bombs but you can also grab molds with any shape you like.
- Place your small toy firmly in the layers and then continue layering until it is covered up completely.
- Let your fizzy bath bomb dry for 3 to 4 hours or even overnight.
- Gently remove from your mold and store in a dry spot.
- To use: Add one or two to a warm bathtub and watch the fizzy fun as the secret toy hidden inside bubbles out!