DIY Mermaid Bath Bomb Tutorial
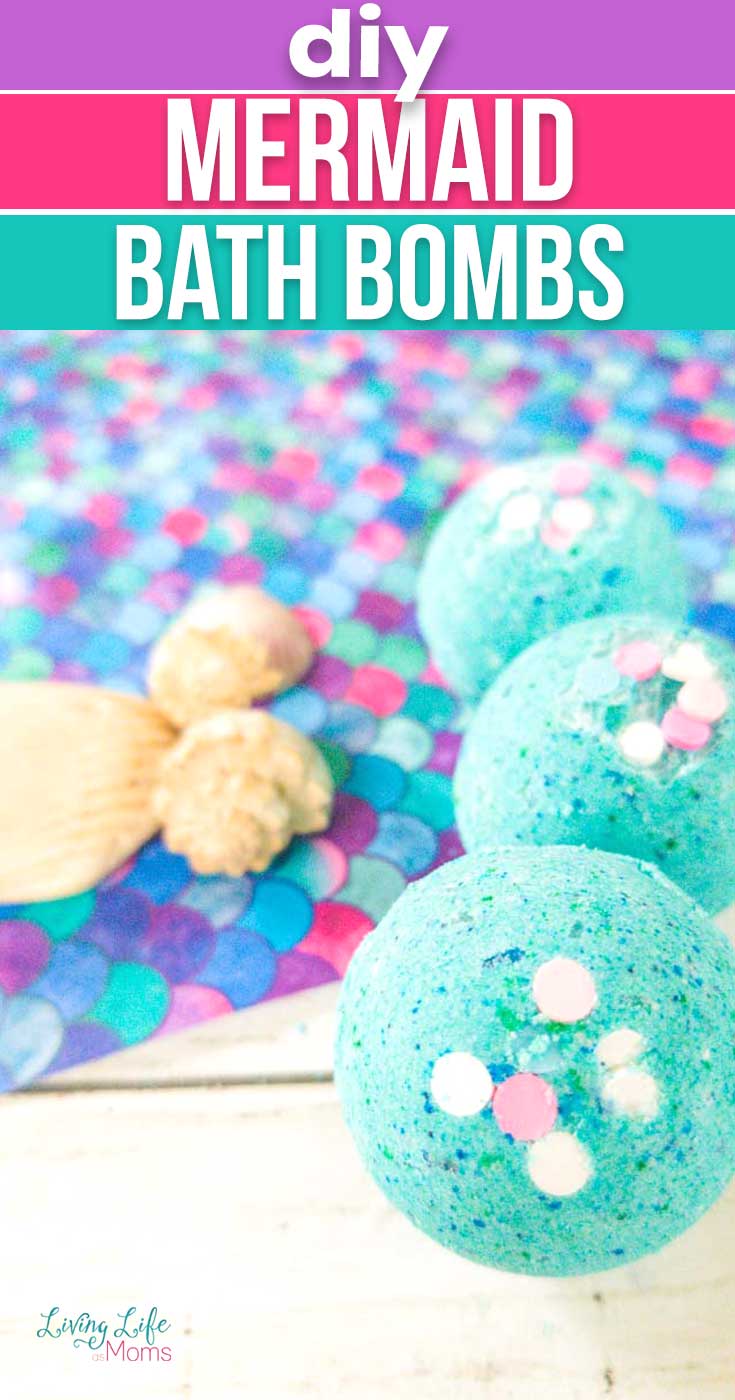
The kids are going to love these DIY Mermaid Bath Bombs. And this DIY Mermaid Bath Bomb Tutorial makes it super simple to do! Not only are they super bright and fun, but they’ll also just so happen to make bath time that much more enjoyable as well. Parents around the world will rejoice that their kiddos will actually want to hop in the tub now without having to ask over and over again.
See related: Best Homemade Bath Bombs
If you have a mermaid fan in the house, these homemade bath bombs are a must. And the best part? They’re super duper easy to make. So much so that we actually make them quite a bit. The boys and the girls love them so there are no worries there.
Another fun way that you can use this recipe at home is to let the kids learn how to follow directions and make these bath bombs as well. Just be there for parental supervision in case they need any help or have questions.
Be certain to check out these DIY Unicorn Bath Bombs as well!

DIY Mermaid Bath Bomb Tutorial
We really like to make bath bombs in our house because it’s something that we can then use as well. And treating myself to a spa day sounds like a really solid plan. Since I’m totally fine with mermaids, this is one activity that I’m happy to join in on as well.
What you’ll notice about making bath bombs is that they’re quite addictive to do. Once you make one, you’re never going to want to stop.
And once you see how expensive they are in the store, you’re definitely going to want to make your own right at your very own house as well. It’ll actually save you a ton of money in the long run if you actually use bath bombs.
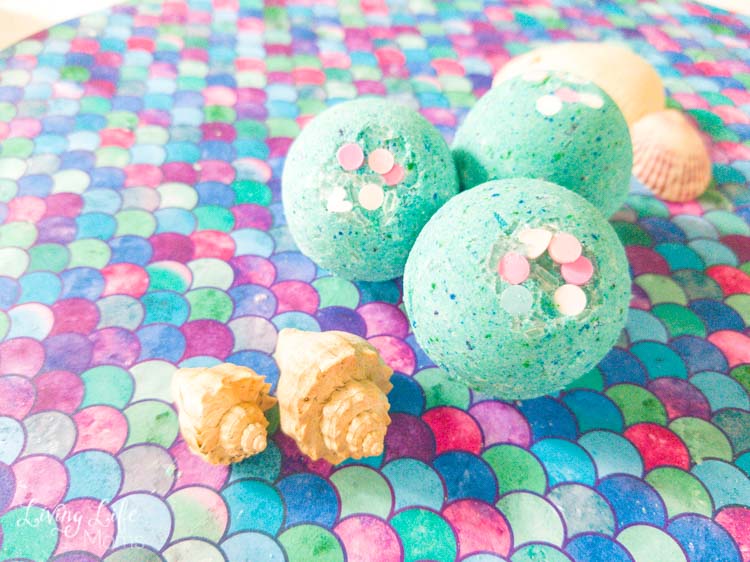
Supplies needed to make Mermaid Bath Bombs
- Baking soda
- Citric acid (this is what will cause the bombs to fizz)
- Corn starch
- Epsom salts (for sore muscle relief)
- Water
- Food coloring (to get our aqua hue, we mixed both blue and green food coloring)
- Sugar candies or sprinkles in choice of color/design
- Essential oils of your choice
- Bath bomb molds
Once you gather up the list of supplies, you’re ready to get started.
How to make this DIY Mermaid Bath Bomb Tutorial
The biggest thing to remember when you’re making bath bombs is that you need to be certain that you’re packing the ingredients into the mold as tightly as possible. This will help it to keep that round shape and stop it from crumbling or falling apart.
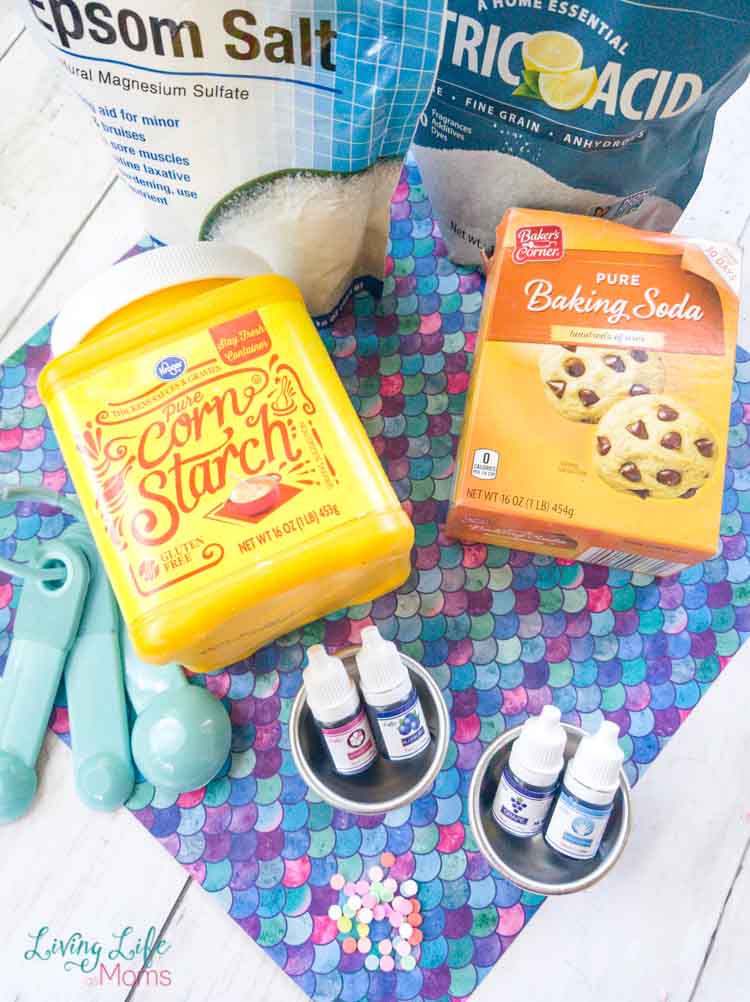
The list of ingredients that you need can also be viewed in this picture.
How to store bath bombs
Once you make up these bath bombs, you’re going to want to be certain that you store them to keep them fresh and ready to use. Put them in a sealable container with a lid or a bag that you can seal tightly to keep out the air, if at all possible.
As long as you can store them that way, they should be fine to last for a few weeks without issue. And even if air does happen to get in, you can still use them they just might not fizz up as they normally would at that point in time.
Make certain that your kids know that bath bombs are never supposed to be put inside their mouths as that it not safe. They are only pretty to look at and use in the bathwater, nothing more.

DIY Mermaid Bath Bombs
These mermaid bath bombs are so much fun to make!
Materials
- 1 cup baking soda
- 1/2 cup citric acid (this is what will cause the bombs to fizz)
- 1/2 cup corn starch
- 1/2 cup Epsom salts (for sore muscle relief)
- 1 teaspoon of water
- Food coloring (to get our aqua hue, we mixed both blue and green food coloring)
- Small sugar candies or sprinkles in choice of color/design. For our mermaid bath bombs we chose round candies that looked like fish scales.
- Optional: 10 drops of essential oils of your choice
- Bath bomb molds
Instructions
- In a large bowl. mix your dry ingredients only. This includes the baking soda, citric acid, corn starch, and baking soda. Mix well.
- In a separate bowl, mix the wet ingredients including the water, 5-7 drops of food coloring of your choice, and any 5-7 drops of any essential oils you might be using. For our bombs, we mixed 4 drops of blue and 3 drops of green to get the aqua hue. Mix well.
- Slowly mix the wet and dry ingredients together. Mix very slowly until a damp sand forms. You might see a small amount of fizzing, which is normal. NOTE: If you are not using any essential oils, you may need to add another 1/2-1 teaspoon of water to get this correct consistency.
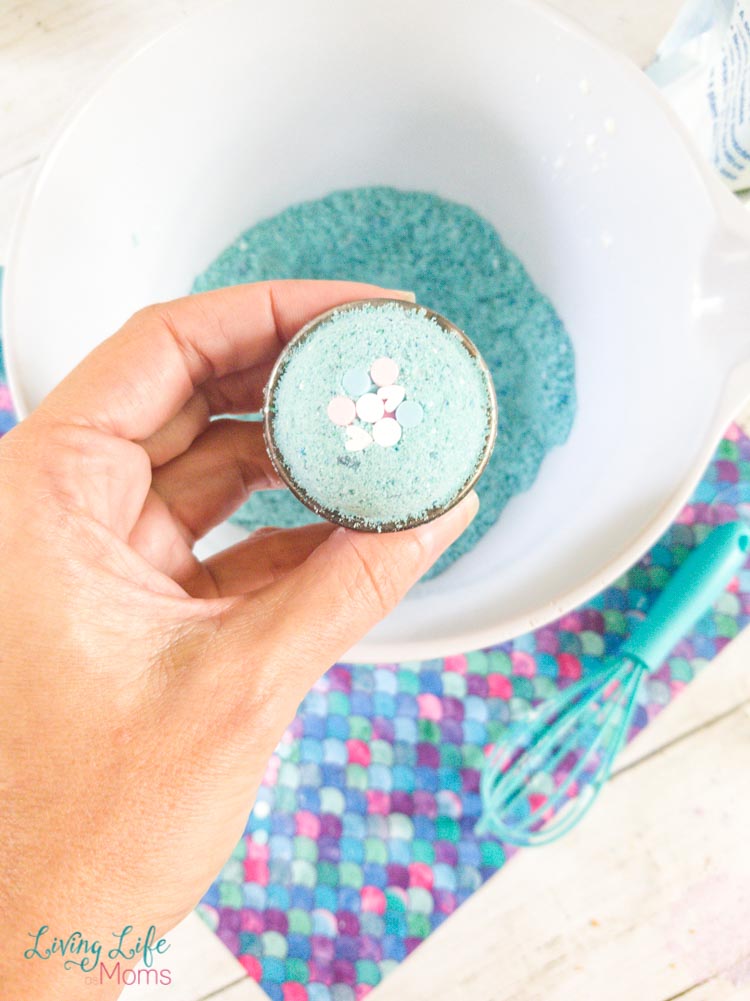
- Sprinkle a small amount of sugar sprinkles into the bath bomb. We used candies that looked like round little fish scales.
- Pack each half of the bath bomb with the mixture. You want each half to slightly overflow.
- Press the two halves together tightly. Hold in place for 15-20 seconds.
- GENTLY remove the bath bomb from the mold. Place it on a cookie sheet to dry overnight.
Trouble shooting:
If your mixture continues to crumble, try adding another teaspoon of water until a stiffer sand mixture develops. Start small, and gradually add a teaspoon at a time to avoid over watering the mixture.
You can always darken the hue with additional drops of food coloring. This won't harm the mixture.
If your bath bombs are crumbling after you take them from the mold, try leaving them in the mold for 10-15 minutes before removing. Always remove with great care.
Your bath bombs can be stored in an airtight jar or container until you are ready to use them. To use, just drop them into a warm bath and enjoy.
Notes
Opt for high-grade food coloring as it not only mixes well and looks nice, but doesn't tend to stain.
Any candies you use for your bath bombs should be free of any hard candy coating.



[…] Mermaid Bath Bombs […]
[…] Mermaid Bath Bombs […]