How to Make a Watermelon Painted Rock
Learn how to make a watermelon painted rock easily! Painting rocks is a great activity for kids to sit down and enjoy. Adults can even join in on the fun!
Check out this fun Easy Painted Rocks Ideas as well for another fun and creative idea.
As a household, we discovered that we really love painting rocks. This is because it gives us a sense of creativity that we can all easily do. I love painting rocks because it’s a simple way for the kids to find confidence in their art skills. Since rocks are all different shapes and sizes, this is a great fine motor activity for them to do as well.
Use this fun rock painting activity as something new and different for the kids. They’ll be able to make their very own masterpiece in a short amount of time!
How to Make a Watermelon Painted Rock
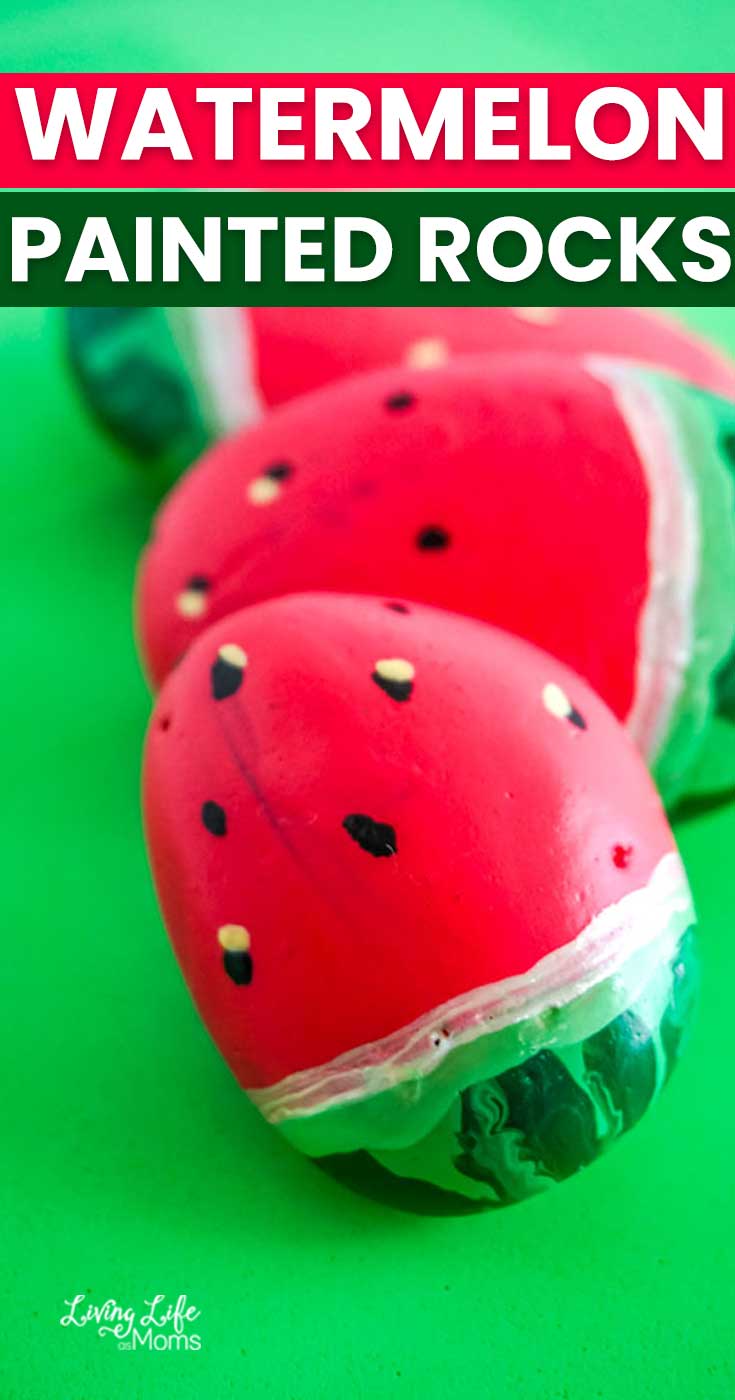
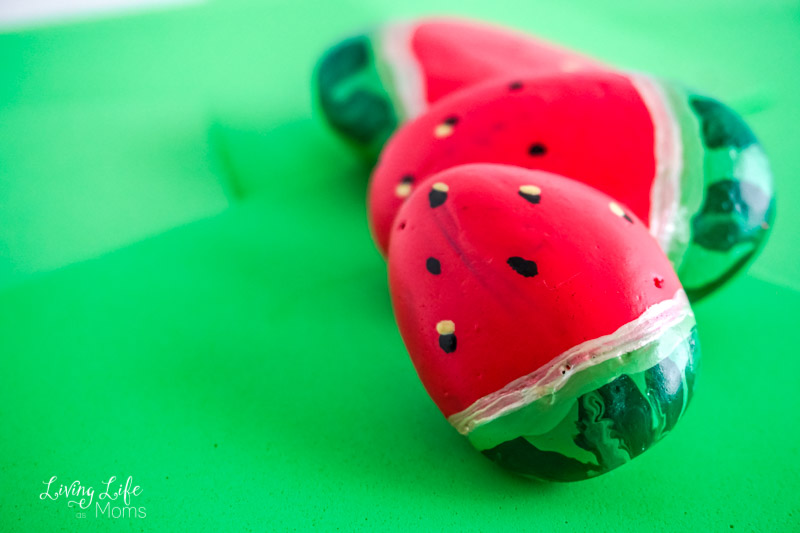
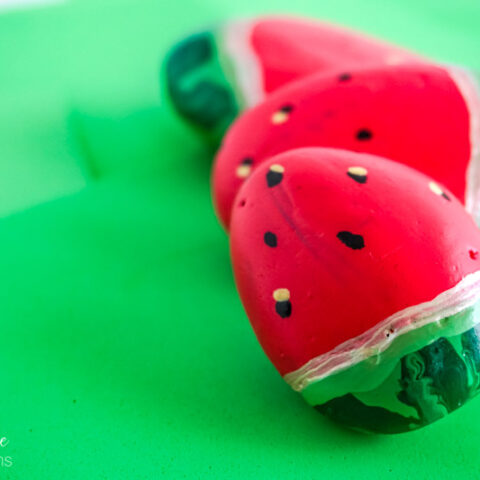
Don’t these painted rocks look adorable? I love how they really do look like little tiny watermelons! I’m always telling the kids that finding objects to create at home is a simple and easy thing to do and what better way to show that is true than by painting rocks?
I know that some people buy rocks online but I’m totally fine heading out the door and looking for rocks in our yard. Make certain that the kids know that they can’t take rocks from places that are not their property. We’ve always had luck finding rocks in our driveway or garden area that we can easily clean and use to paint on.
Supplies needed to paint watermelon rocks
I also love this simple rock painting activity because it’s a fast project to set up and get started. It combines imagination and movement to create something truly lovely.
I have the kids go outside and find rocks which is where the body movement comes into play. To create this painted rock activity, you’ll want to have the following supplies on hand.
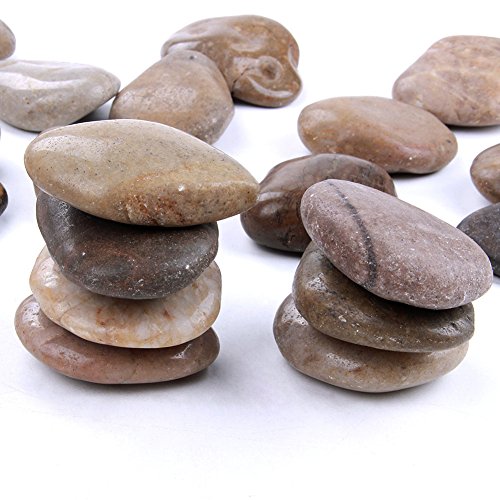
- Rocks that are round
- Acrylic Paint in the colors of watermelon (we also used gold for the watermelon seeds)
- paper towel that is wet
- paint holder
- paint brushes
How to make Painted Watermelon Rocks
The biggest thing to keep in mind when you’re painting rocks is that you need to clean them off first. If you’re not buying them, they’re going to have dirt and grime on them from the yard.
To be able to paint them, you’ll want to have all the dirt and grime removed so wash and dry them before starting to paint on them.
This is a good activity for the kids to be able to help and do. Once the rocks are dried and ready to go, the painting fun can begin.
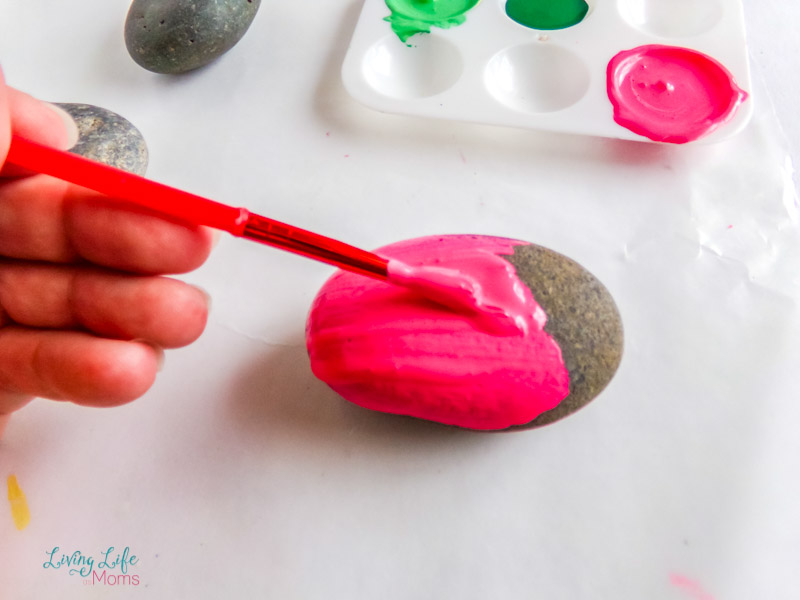
The first part of the rock to paint is the red portion that is the edible part of the watermelon. This will probably be done in phases so that one side can dry fully before starting on the other side. As long as you’re not laying on the paint too thick, this shouldn’t take long at all.
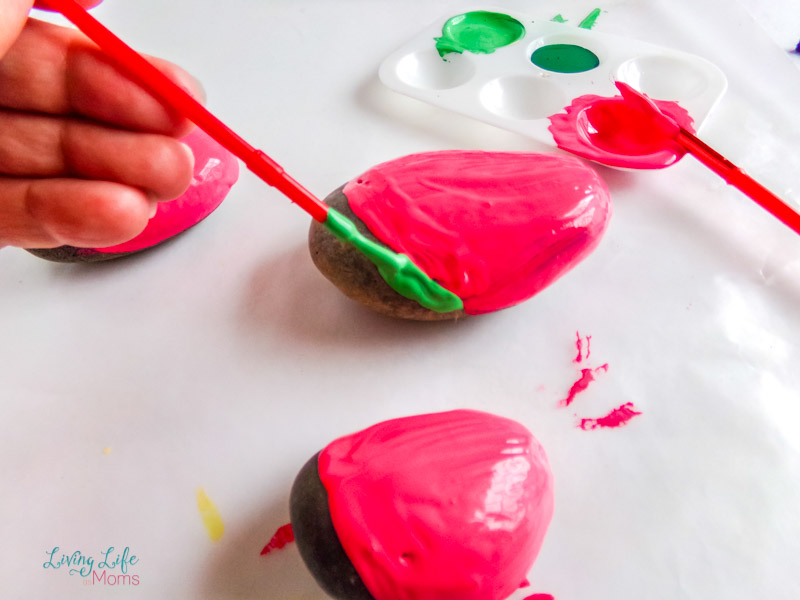
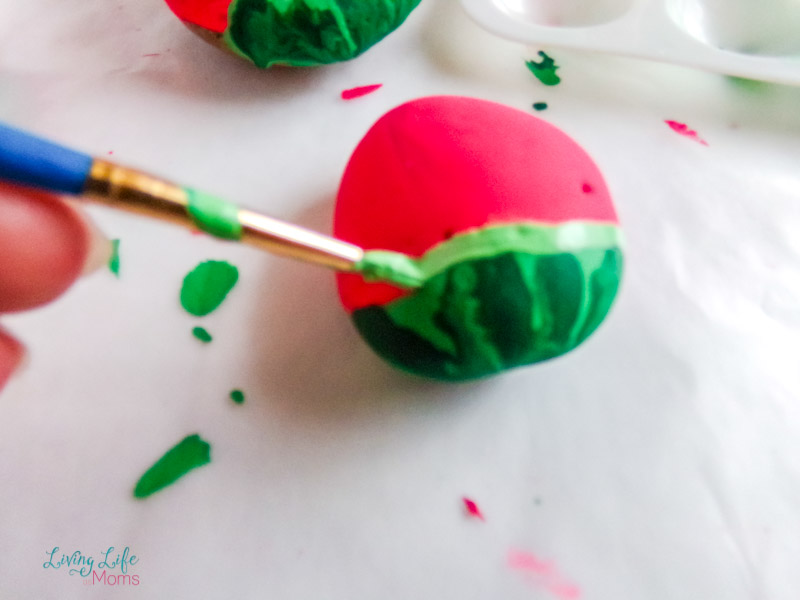
Once the red is done drying, you’re going to want to paint the top portion green. This is supposed to be the rind of the watermelon and the color and shade of green can be whatever you’d like it to be. I did a darker green base so then I could add a lighter green on top for lines that would stand out.
You may want to use different-sized paintbrushes for this activity so that they can make better details. Also, remind the kids to wash out their paintbrushes when they’re switching colors.
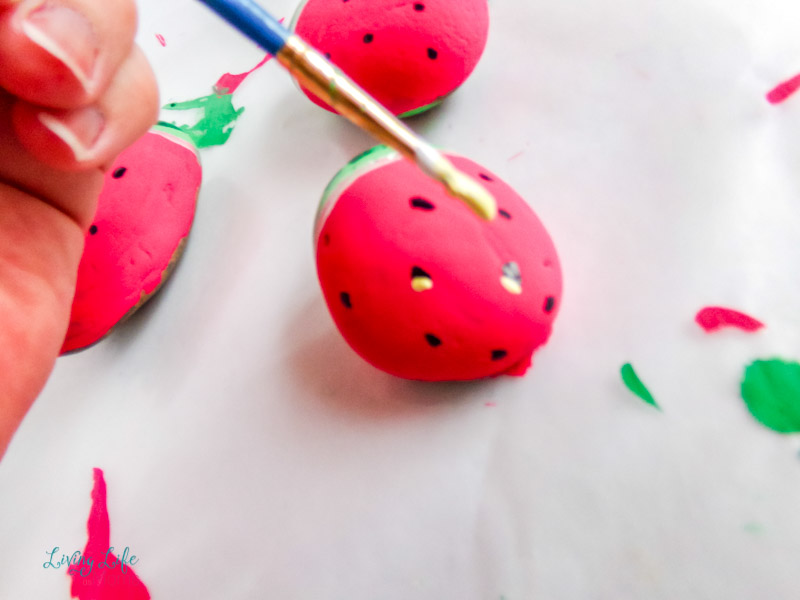
Next comes the part where you get to add on the watermelon seeds. I made black dots and then accented them with gold to make them pop just a bit more. This is optional so don’t feel like it’s a “have” to.
Make certain that once you’ve painted the rocks, you leave them be long enough so that they can dry. Once they’re dry, they’re ready to grab and hold or show off to others!
Fun Ideas To Share Your Painted Rocks
There seems to be a growing trend around the world that people go out and hide their painted rocks in various spots around their town. This is a fun way to spend the day creating and then think of cute and unique places to put the painted rocks after that.
The point of hiding painted rocks is so that other people can find those rocks and find simple joy in doing so. The towns that actively do this and promote this tend to have quite a big following.
Share this “How to Paint Watermelon Rocks” Story with your Friends

It’s also a great way to get everyone outside and moving around, too. Telling the kids that you’re going to look for painted rocks is a fun activity that is great for seek-and-find skills as well.
Just be certain that you’re leaving rocks in places that it’s okay to do so. People tend to find nature trails or even rock beds that they’ll hide their painted rocks in.
Rock Painting Supplies
Below are some great art supplies that you should think about adding to your home. These can be used for decorating rocks as well as purchasing rocks to paint if you don’t happen to have any rocks in your home to use.
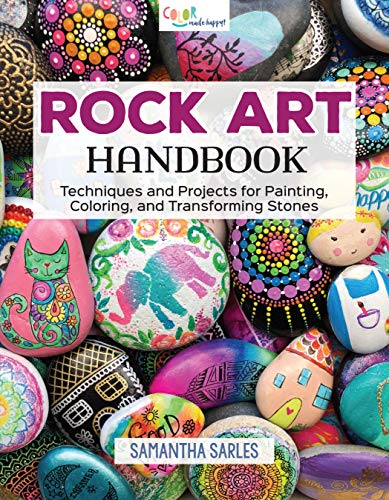
Capcouriers Rocks for Painting – Painting Rocks – Perfect for Rock Painting – Smooth Rocks for Crafts – 10 to 12 Rocks20 pcs 2-3 inch Natural Rocks for Painting Kindness rocks Crafting Party Pack Bundle River Stones for Painting Crafts – Natural Smooth Surface Arts & Crafting Rock Painting Supplies for Kid PaintersRock Painting For Beginners: Simple Step-by-Step TechniquesRock Art Handbook: Techniques and Projects for Painting, Coloring, and Transforming Stones (Fox Chapel Publishing) Over 30 Step-by-Step Tutorials using Paints, Chalk, Art Pens, Glitter Glue & MorePaint pens for rock painting – Wood, Glass, Metal and Ceramic Works on almost all surfaces set of 15 Vibrant Medium tip Oil Paint Marker Pens, Quick Dry, Water ResistantAcrylic Paint Pens for Rocks Painting, Ceramic, Glass, Wood, Fabric, Canvas, Mugs, DIY Craft Making Supplies, Scrapbooking Craft, Card Making. Acrylic Paint Marker Pens Set of 12 Colors


The biggest thing to remember when it comes to rock painting is that it doesn’t have to be just one way to do it. Let everyone be as creative as they want so that they can have fun rock painting!
You’ll also love these super cute ladybug rocks that you can do with just a few simple steps.
How to Make a Watermelon Painted Rock
This is a great rock painting activity for kids!
Materials
- Rocks that are round
- Acrylic Paint in the colors of watermelon (we also used gold for the watermelon seeds)
- paper towel that is wet
- paint holder
- paint brushes
Instructions
- Start by cleaning the rocks.
- Cover 3/4 of the rock with pink paint. Let dry.
- Paint the rest of the rock light green. Let dry.
- Paint vertical lines with dark green paint over the top of the light green paint. Let dry.
- Put a line of light green paint to join the pink and green. Let dry.
- Add white paint on the pink side of the watermelon painting. Let dr.
- Grab a small paintbrush and add the black dabs of paint to make the seeds. Let dry.
- Add a bit of gold underneath and let dry.
- If you would like to seal with Mod Podge, do so after painting.
More Fun Rock Painting Ideas