How to Make Rainbow Bath Bombs
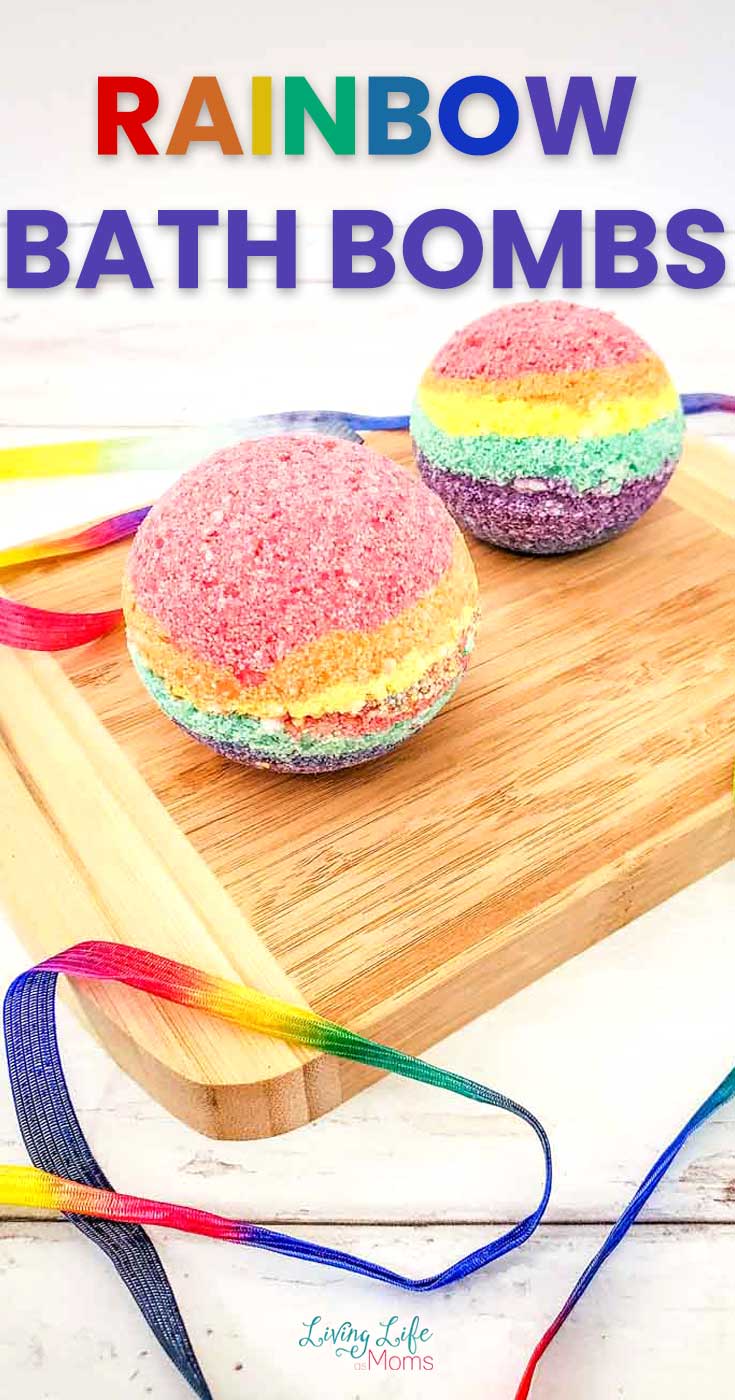
Are you ready to learn how to make rainbow bath bombs? This simple DIY project is a great activity to do with the kids! Since bath bombs are fun to make and are great for a spa day at home, this is one simple recipe that you’ll want to do asap!
If you’re a fan of bath bombs, get ready to add a rainbow one to the mix! This simple bath bomb activity is a great way to celebrate the colors of the rainbow any time of the year!
Don’t forget to make this DIY Mermaid Bath Bomb Tutorial for another super cool and unique homemade bath bomb recipe as well.

How to Make Rainbow Bath Bombs
I’m all about making bath bombs. I love them because they’re fun to make, and I always have a blast when I make them. I also love that they’re a great way to feel like I’m pampering myself right at home.
I’ve been making bath bombs for years, and I don’t see myself ever buying them premade from the store ever again. Not only that, but everyone loves getting these DIY bath bombs as gifts for their birthdays and holidays, too! That saves me a ton of money and time when I can just make them right at home.
DIY rainbow bath bomb supplies
All you need to get started are the simple supplies below.
- Baking soda
- Epsom salts
- citric acid
- Cornstarch
- sweet almond oil
- Water
- Red, orange, yellow, green, blue, and purple mica powder
- Bath bomb molds
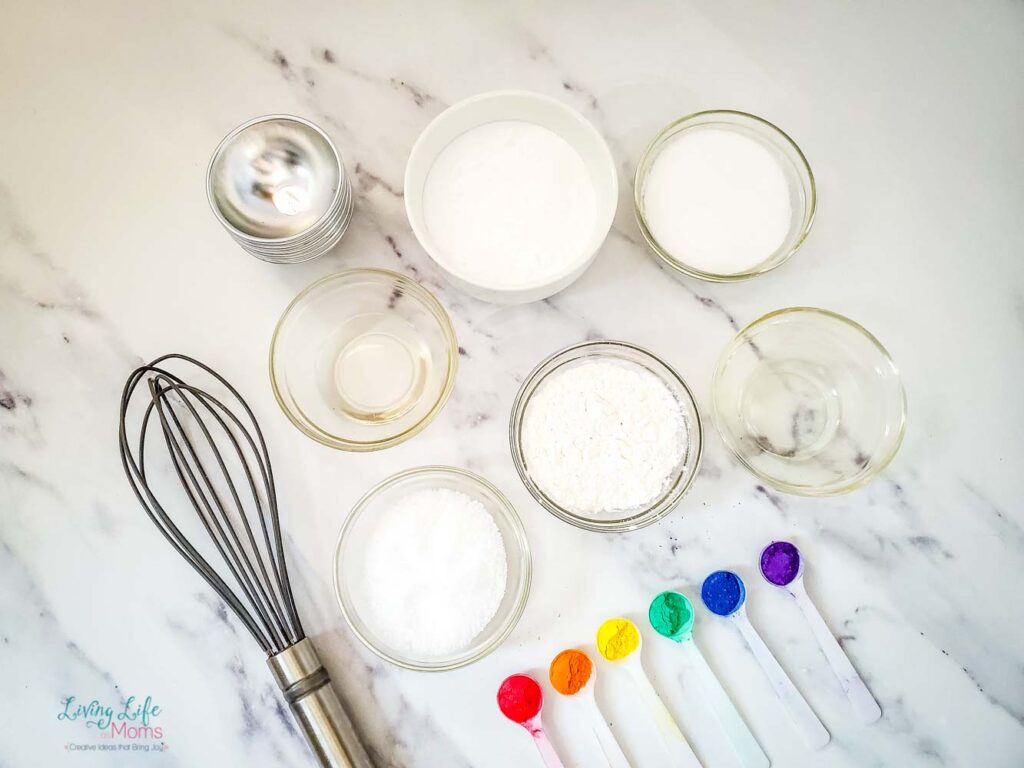
Once you start making these bath bombs, you’re going to get addicted! They’re not only fun to make but look at those colors! Since you’re actually going to be creating the colors, you do have a little bit of say in how dark or light you make them.
This makes for a really cool experience to make them look different every single time. If you have littles helping you make this bath bomb recipe, this is where they can use their stirring skills, and it comes into play.
Add some color, stir, and then add some more. It’s totally up to you. Just put them all in their own individual containers so that they don’t mix together.
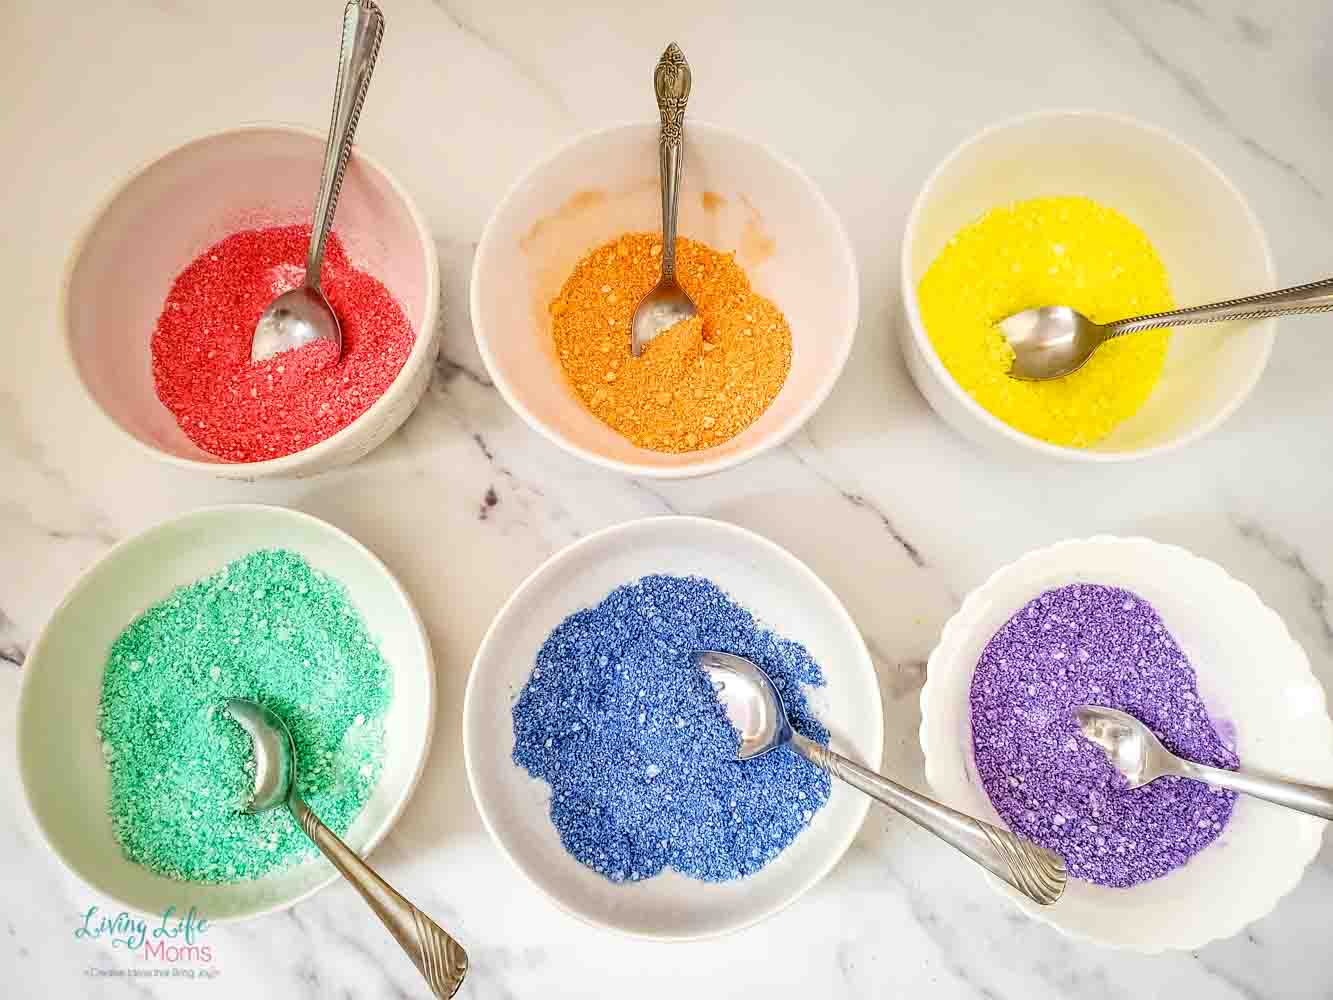
And if you need help remembering the colors of the rainbow, remember the saying: ROYGBV.
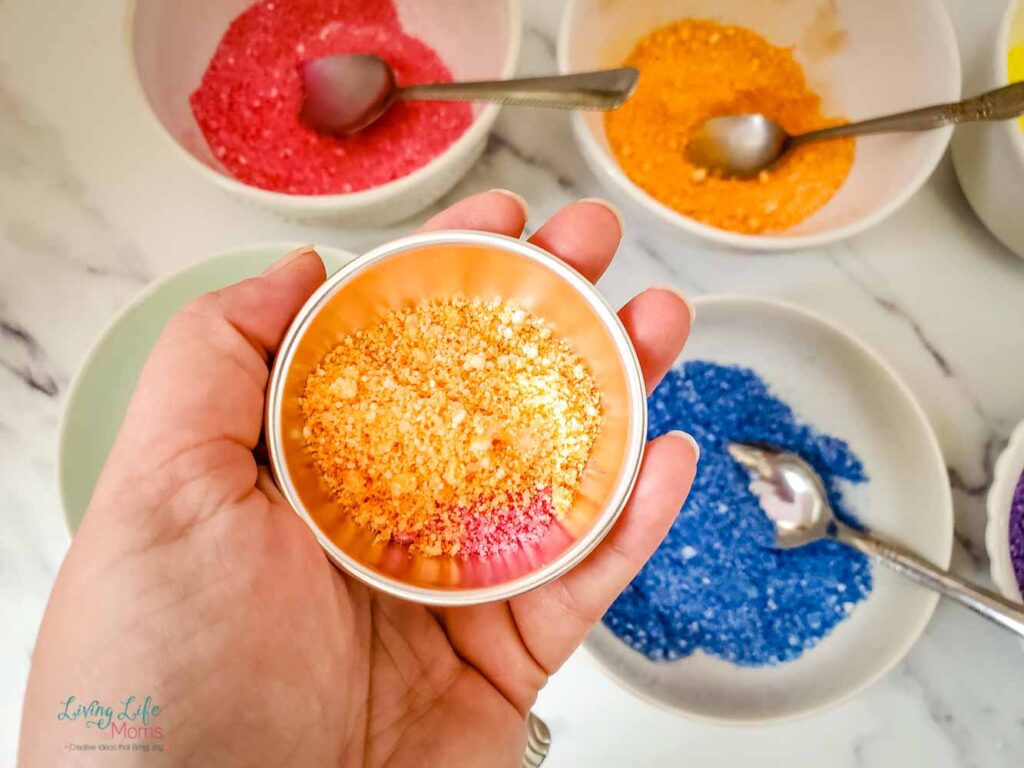
The other big tip is that you want to make sure to fill the mold as tightly as possible so that the mixture will stick together.
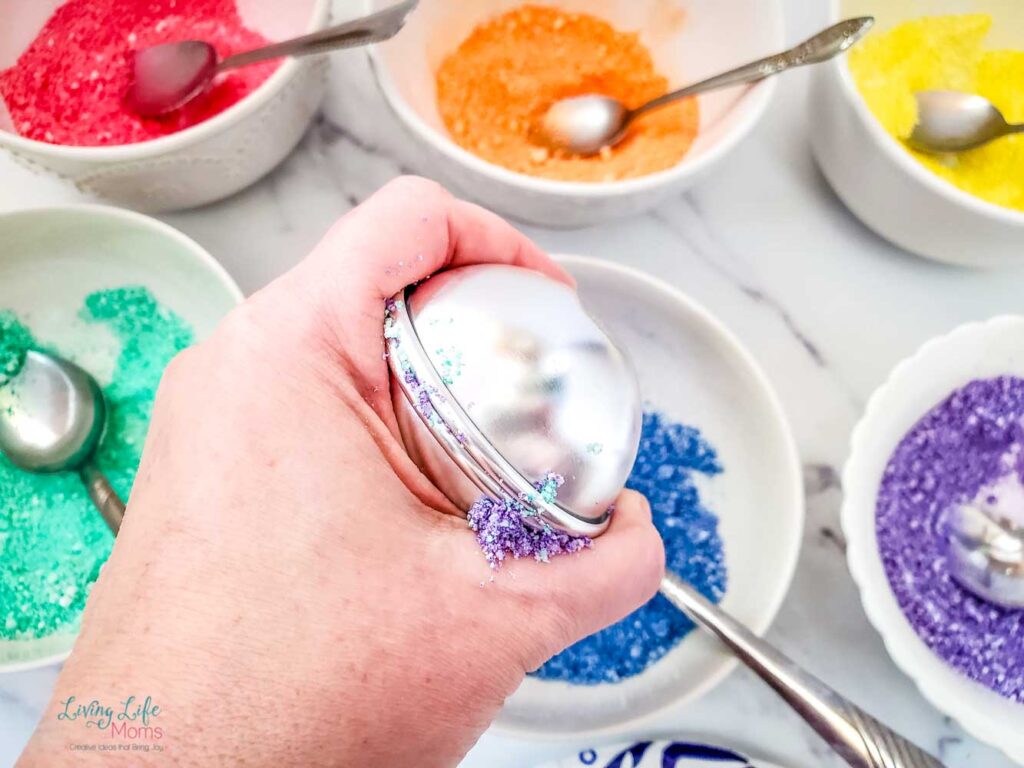
Once you get the mold full, you want to give it a nice twist and let it set so that the mold will form.
How to use a bath bomb
Bath bombs are just great to make! I love to use them as a way to relax after a long day or just have something fun to make the bathwater colorful. Who wouldn’t want to bathe in rainbow colored bathwater?
What I also love about making bath bombs is that they can be made and then used later. Just keep them stored in a bag or container, and you can spread out using them to make them last.
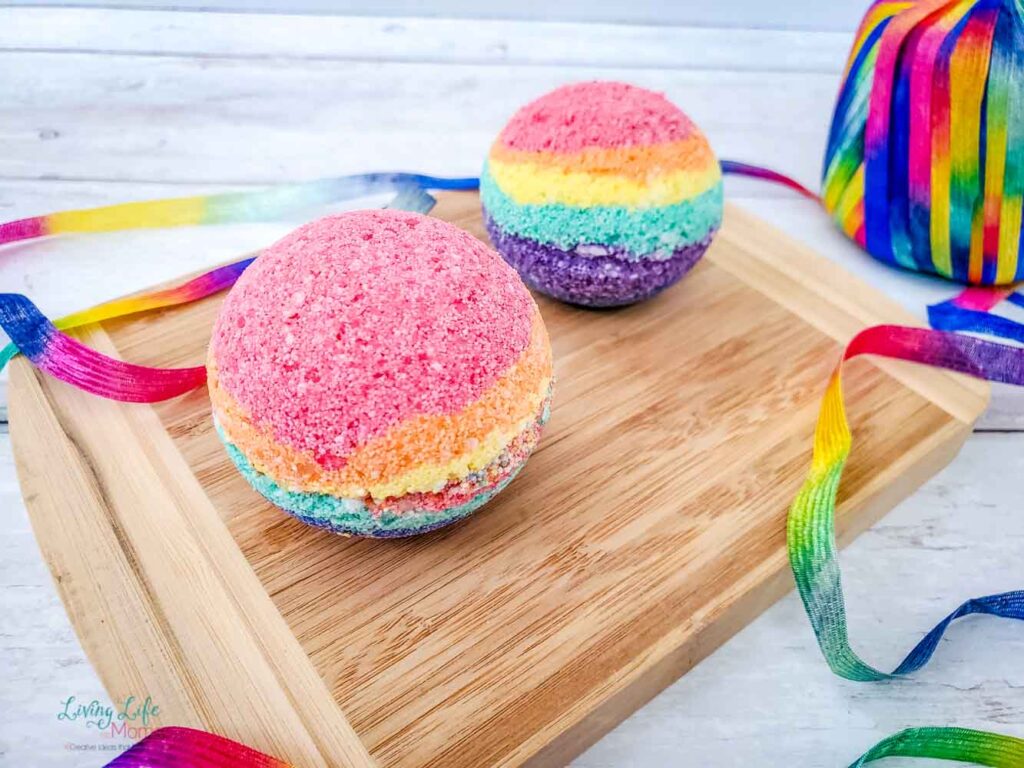
Easy homemade gift idea
Don’t forget that giving gifts is the best! Anyone can buy something from the store and ship it, but why setting for just anything. Make some extra bath bombs and give them a nice gift.
All you need to do is add them to a nice gift box or cute baggie, and that’s it! They’ll love opening it and having it to use anytime that they want!
If you have older kids, this would also be a super cool activity for them to do! Sit with them and create and join in on the fun!
How to store bath bombs
The good news is that once you make a bath bomb, you can store it and use it later. This is because they’re made with ingredients that don’t have to be used right away.
I always store mine in a bag or container so that I can use it when I want. I just keep it in my bathroom closet so that it’s ready for me to grab.
How to use bath bombs
The great thing about bath bombs is that they’re totally simple to use! You just have to drop it into your water once you are ready – that’s it. The bath bomb will start to dissolve, and you can then swirl around the water to make it look colorful.

How to Make Rainbow Bath Bombs
These rainbow bath bombs are so simple and easy to make!
Materials
- ½ cup of baking soda
- ¼ cup of Epsom salts
- ¼ cup of citric acid
- ¼ cup of cornstarch
- 1 ½ T sweet almond oil
- 1 tsp water
- ¼ tsp each of red, orange, yellow, green, blue, and purple mica powder
- Bath bomb molds
Instructions
- Put the Epsom salts, baking soda, citric acid, and cornstarch into a bowl. Mix well.
- Add the water and the almond oil to a jar and put on the lid. Shake.
- Add the liquid mixture to the dry mixture very slowly and whisk the whole time that you're combining them. You do not want this to fizz.
- Once done, divvy the mixture into 6 bowls.
- Put one color of the mica powder into each bowl and stir.
- Layer the colors in the mold to make the rainbow look. You'll do this in each half. Put red, yellow, and orange in one half and green, blue, and purple in the other. Overfill the last color.
- Put the halves together and carefully twist.
- Let the bath bombs sit for 4-6 hours and then you can take them out of the molds.
- Store in a bag or container.
More Bath Bomb Recipes
Once you make this DIY bath bomb, why not make some more? Like I mentioned earlier, I’ve been making them for years! Here are some of my other favorite bath bombs recipes that I think you’ll love as well.
DIY Unicorn Bath Bomb Tutorial
This is so much fun! This is great for unicorn lovers! I made this at least once a year because it’s so much fun to do.
Homemade Lavender and Eucalyptus Bath Bomb Recipe
Just wait until you smell this bath bomb! The scent is so good, and you’re going to love soaking down in your bath with it. This is because your whole body will smell like it once you’re done. Scented bath bombs are the best because they just smell so good. SO much better than anything that you’d ever buy at the store. Trust me!
Essential Oils Rainbow Surprise Bath Bombs
This one is awesome! Add this to the list of your musts when it comes to creating bath bombs. Not only is it simple and easy to do, but it just looks really cool as well. This is one that you can make with the kids so that they see how fun it is to create bath bombs. This would be a super cute gift idea as well for someone – and don’t tell them that there is a surprise! That’s part of the gift!
