
How to Pack a Safe School Lunch: Food Safety Tips From the USDA
How to keep packed school lunches safe: USDA temperature rules, ice pack tips, hot food in thermoses, allergy basics and a weekly packing routine for busy parents.
As an Amazon Associate I earn from qualifying purchases. Some links in this post are affiliate links, which means I may earn a small commission at no extra cost to you.
A lunch packed at 7:30 in the morning might not be eaten until noon, and it will spend those hours in a backpack or cubby with no refrigerator in sight. Most of the time that works out fine. Still, bacteria grow faster than most people realize in the wrong temperature range, and a few simple habits cut the risk a lot. None of them take more than a minute.
This guide draws on food safety advice from the U.S. Department of Agriculture (USDA) and the Food and Drug Administration (FDA). It covers temperature rules, the right gear, which foods travel well, how to handle hot lunches, and how to manage common allergens. It is written for parents of kids who carry a lunch from home, but the same principles work for work lunches and picnics.
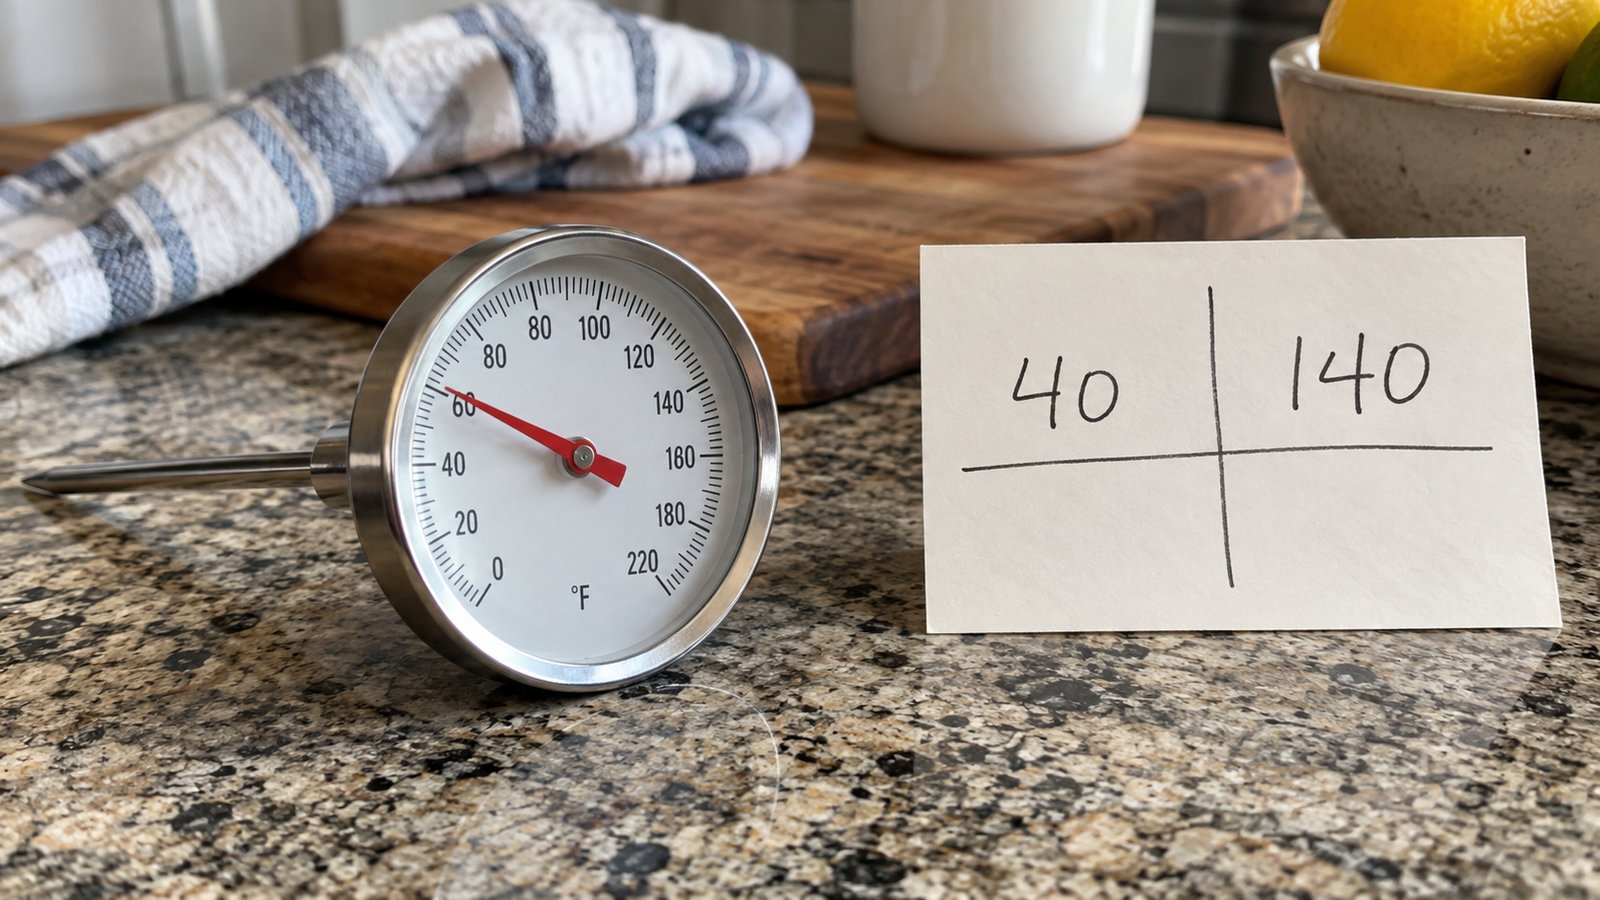
Quick answer: keep cold food at 40°F or below and hot food at 140°F or above. Perishable food should not sit out for more than two hours, or one hour when it is above 90°F. Use an insulated lunch bag with at least two cold sources, such as an ice pack and a frozen drink, and wash hands, containers and lunch bags regularly.
The Temperature Danger Zone
The USDA calls the range between 40°F and 140°F the “danger zone.” In that range, bacteria can double in as little as 20 minutes. Foods such as meat, poultry, eggs, dairy products, cut fruit and cooked rice or pasta are the usual concerns, because they offer moisture and nutrients that bacteria like.
Two time limits matter. First, perishable food should not be left in the danger zone for more than two hours. Second, if the temperature outside is above 90°F, that limit drops to one hour. Since a school lunch can easily go four hours between packing and eating, the plan has to rely on keeping the food cold or hot in the first place, not on racing the clock.
A practical way to remember it: cold foods should stay cold, hot foods should stay hot, and anything in the middle is on borrowed time.
Choosing the Right Lunch Gear
An insulated lunch box with cold sources
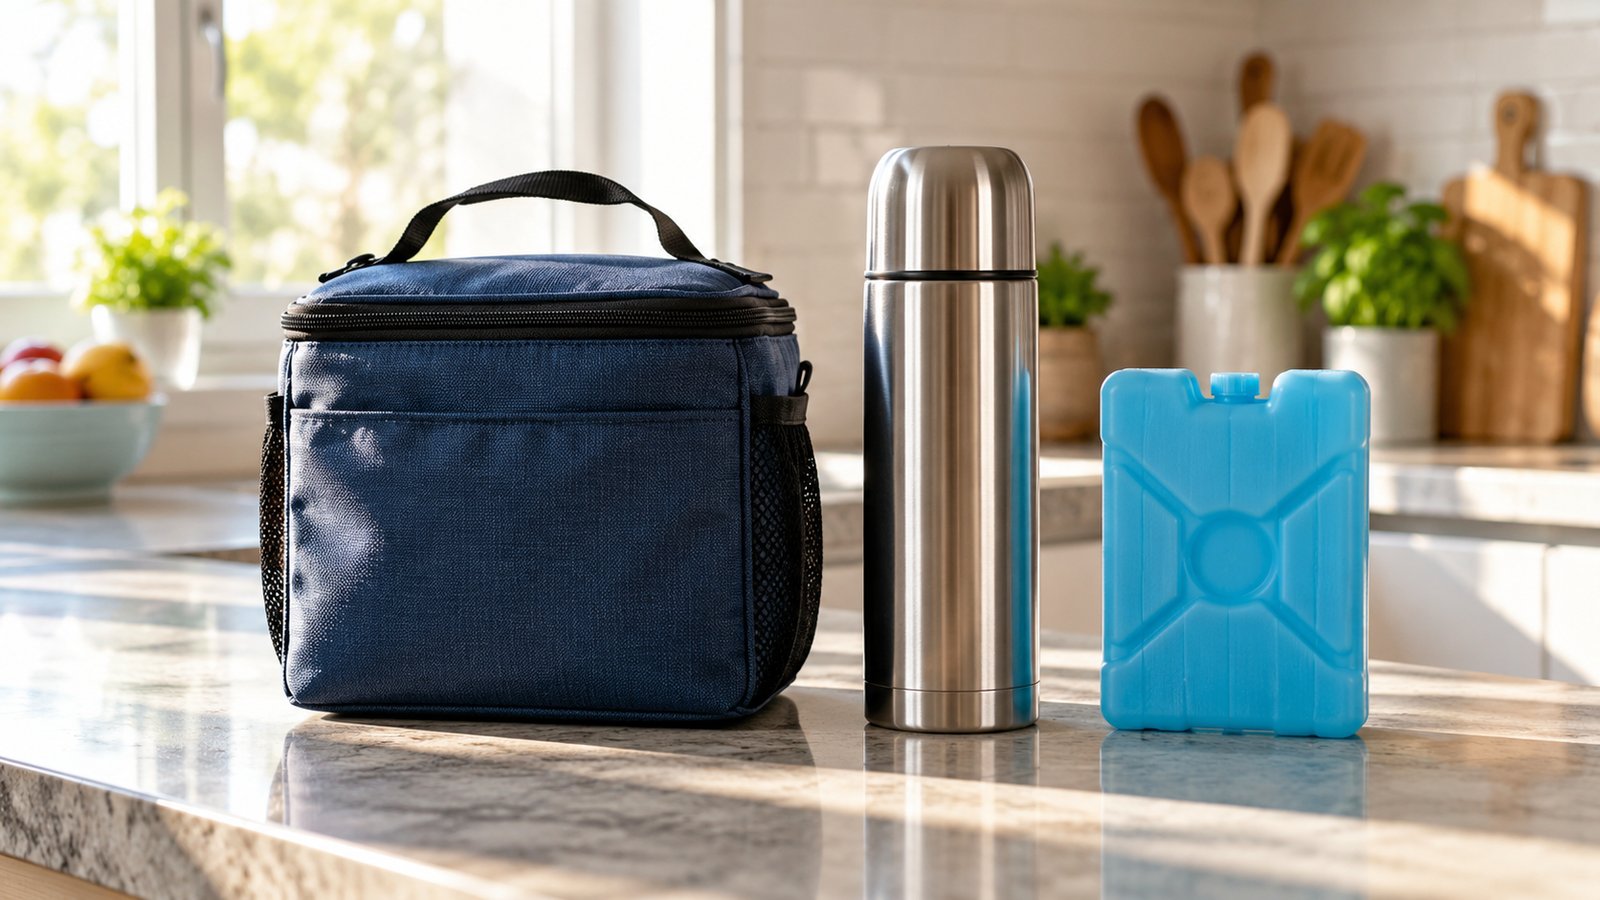
The USDA suggests using an insulated lunch bag or box, and including at least two cold sources to keep perishable foods at a safe temperature. An ice pack works, and so does a frozen juice box, a frozen yogurt tube or a small frozen water bottle. Place cold sources on top of and underneath the food if you can, since cold air sinks.
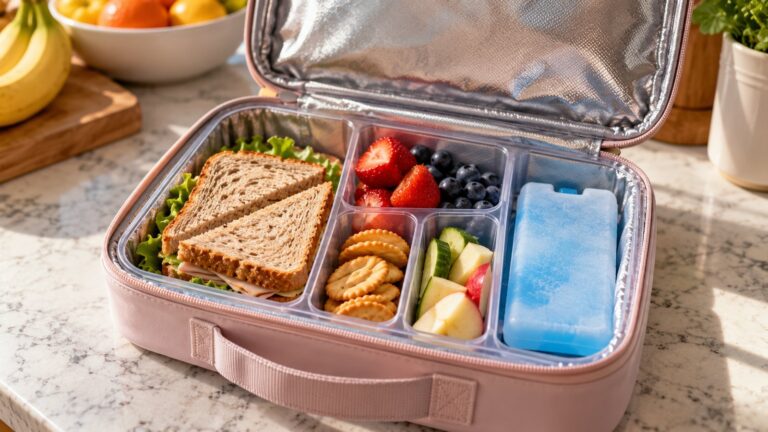
There are plenty of lunch boxes designed with insulation and room for an ice pack. For example, this insulated kids lunch box has compartments for food and a space for a cold pack. Whichever box you choose, check that it is easy to open for your child’s age and simple to wipe clean, because you will wash it often.
A thermos for hot lunches
Hot lunch foods such as soup, pasta and chili need to stay at 140°F or above. The USDA recommends using an insulated container and preheating it. Fill the container with boiling water, let it sit for a few minutes, empty it, then add the piping-hot food. Heat the food to a steaming temperature before packing it so it begins at a safe level. Tell your child to keep the container closed until lunchtime.
Small containers and reusable bags
Containers that seal properly cut down on spills, and compartments keep items from getting soggy. Choose containers your child can open on their own. A first grader who cannot open a lid will often skip the food inside.
Foods That Travel Well, and Foods to Think Twice About
Some foods are naturally forgiving. Others call for extra care. Here is a general guide:
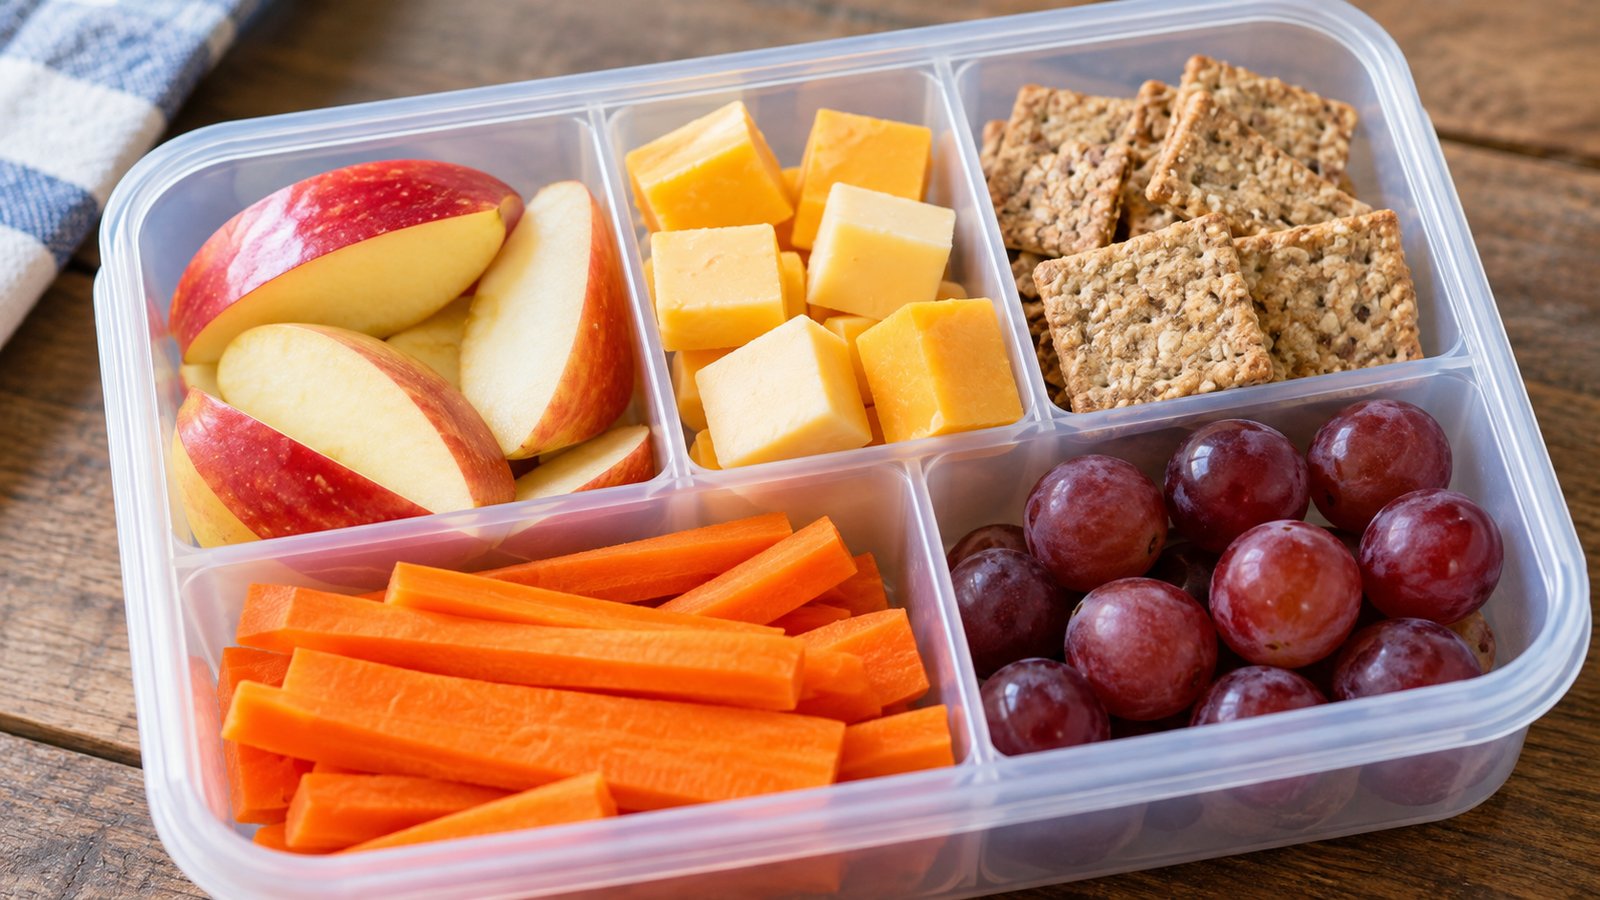
- Shelf-stable and low-risk: whole fruit, such as apples and bananas, crackers, pretzels, nut-free granola bars, dried fruit, unopened applesauce pouches, bread with peanut-free spreads, and plain popcorn.
- Cold-chain foods that need an ice pack: sandwiches with deli meat or cheese, yogurt, string cheese, hard-boiled eggs, cut melon, cooked chicken, pasta salad, and dips with dairy.
- Hot-chain foods that need a thermos: soup, mac and cheese, noodles, chili and stew.
- Foods to avoid or handle carefully: leftover rice left out overnight, cut fruit that has been out for hours, mayonnaise-based salads without a cold source, and raw sprouts.
For inspiration, our post on back-to-school lunch ideas offers a long list of lunch ideas, and the healthy pasta recipe for kids makes a good cold or thermos lunch with the right gear. If your child is a selective eater, our tips for picky eaters can help you build a lunch that actually gets eaten.
Safe Prep at Home
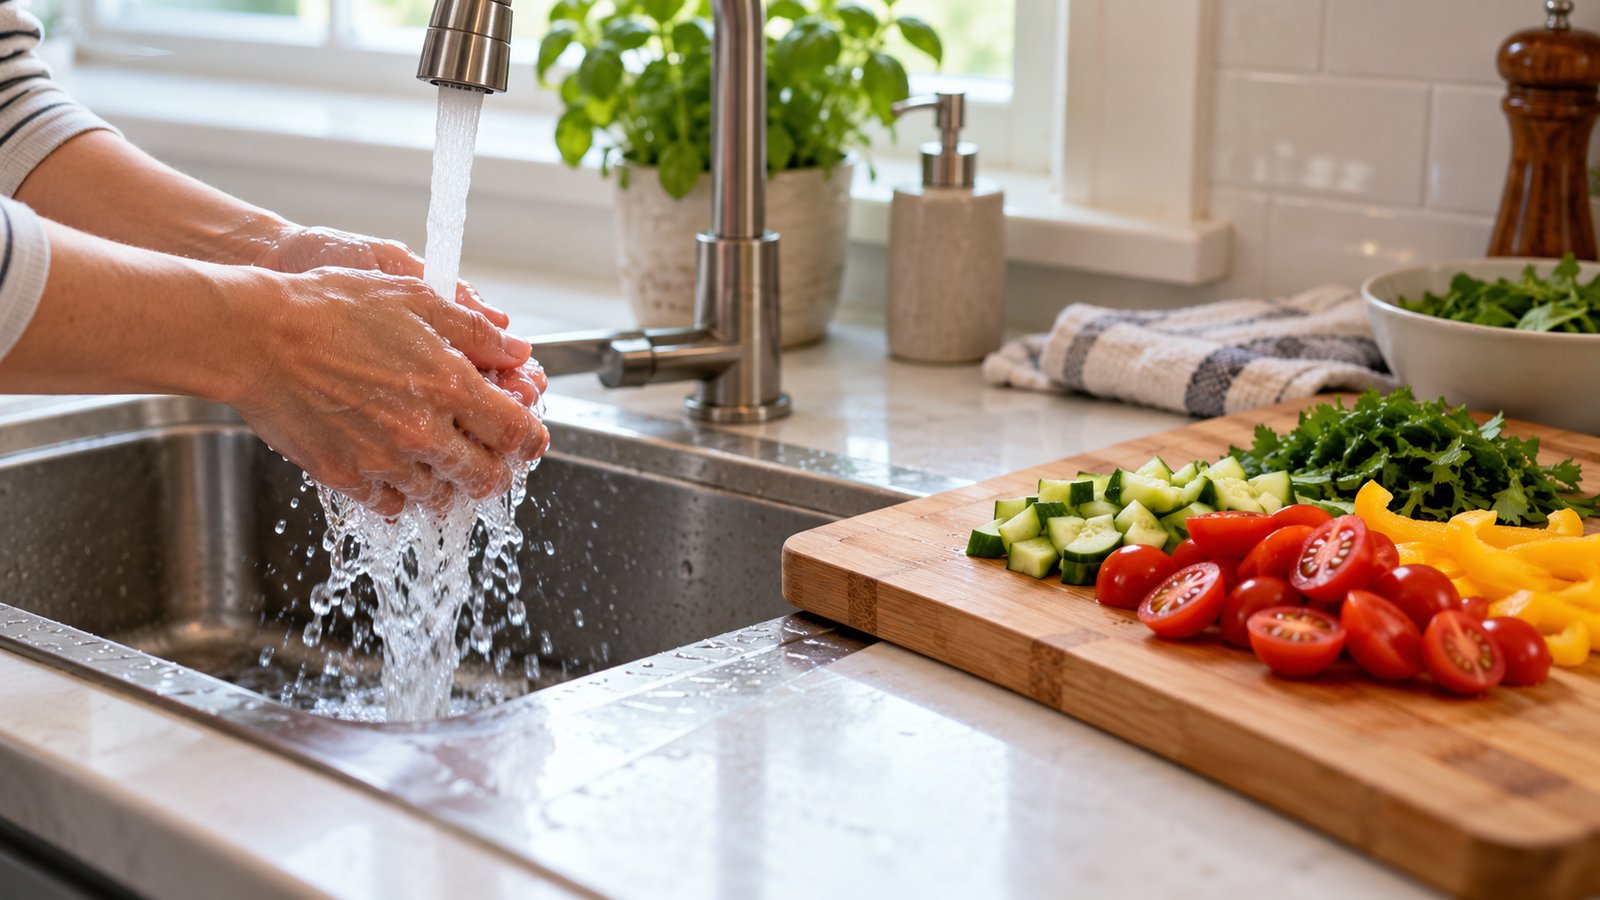
Food safety starts in your own kitchen. The USDA and the Centers for Disease Control and Prevention (CDC) highlight four steps: clean, separate, cook and chill.
- Clean: Wash your hands with soap and warm water for at least 20 seconds before packing. Wash cutting boards, counters and utensils. Rinse fruits and vegetables under running water, including those you peel.
- Separate: Keep raw meat away from ready-to-eat foods. Use separate cutting boards and wash them well after raw meat.
- Cook: Cook meat and poultry to safe internal temperatures. The USDA lists 165°F for poultry and leftovers, and 160°F for ground beef.
- Chill: Put leftovers in the refrigerator within two hours of cooking. Pack lunches straight from the refrigerator, and chill the packed lunch until it is time to leave, if you can.
If you are packing a lunch the night before, put it in the refrigerator and add the ice pack from the freezer in the morning. That way the whole lunch begins cold. Leftover dinner makes a good lunch as long as it was refrigerated promptly and is reheated to 165°F before going into a thermos.
A reliable food thermometer takes the guessing out of cooking meat and reheating leftovers. A simple instant-read model such as this digital instant-read thermometer is useful for chicken, meatballs and casseroles. Skip the color-and-feel method, because color does not tell you whether meat is safe.
What Happens When the Lunch Goes Home
Throw out perishable leftovers that come back home in the lunch bag. Once food has spent hours at room temperature, you cannot know whether it is safe, even if it looks and smells fine. The USDA’s rule is that perishable food left in the danger zone for more than two hours should be thrown out. That includes the half-eaten yogurt and the sandwich with the missing bite.
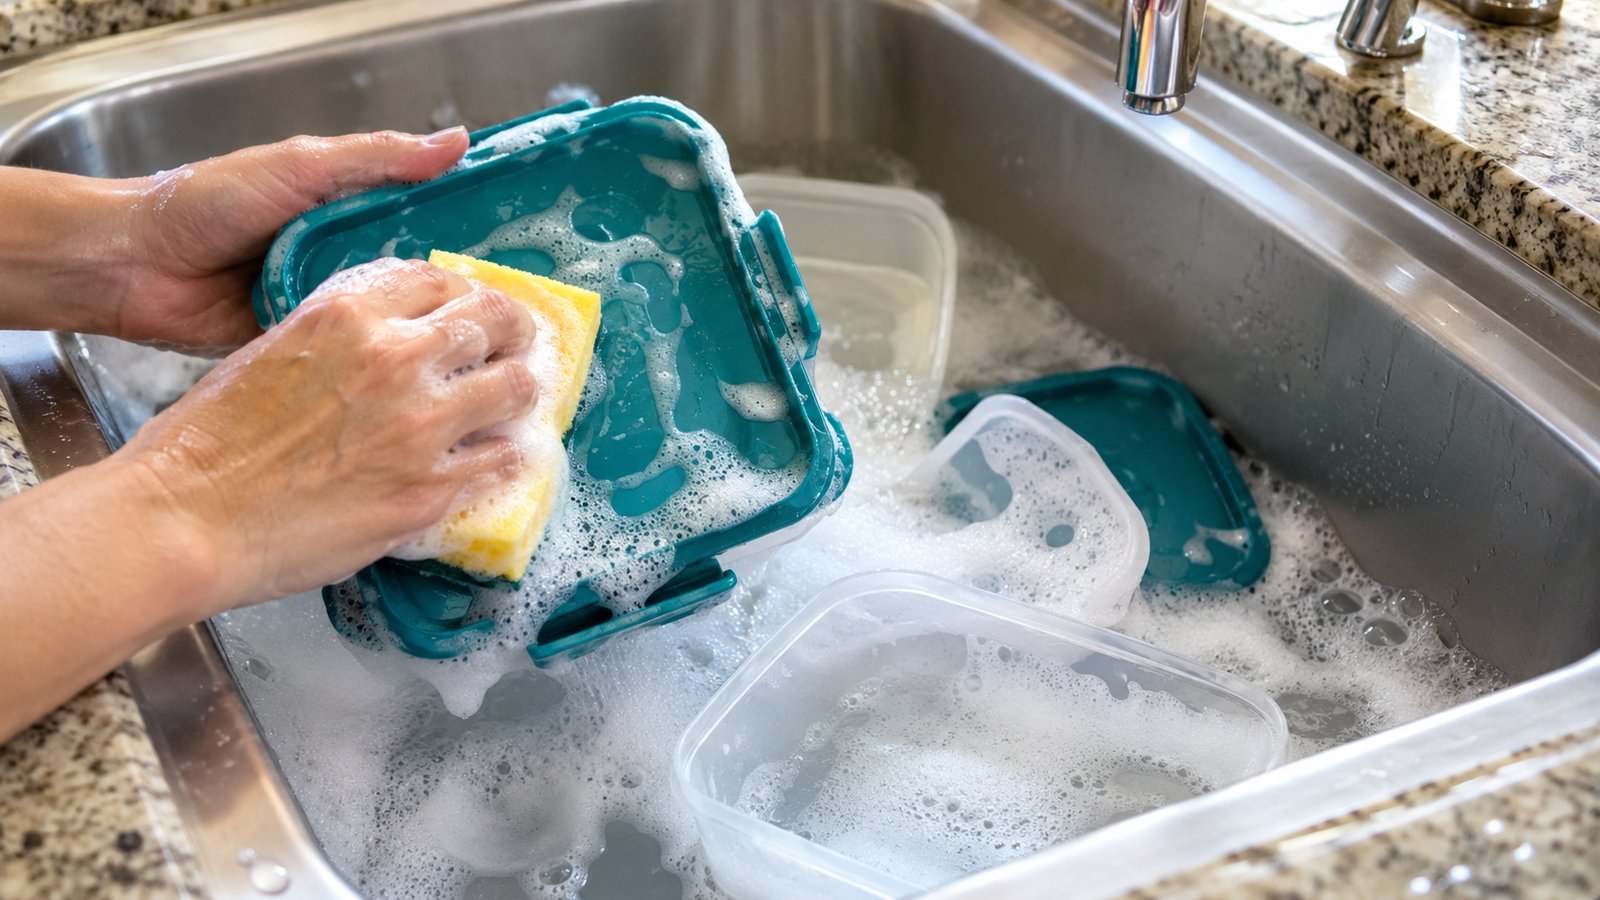
Empty the lunch box as soon as your child gets home. Wipe it with hot, soapy water, or run washable containers through the dishwasher. Let the bag air dry before the next use, and wash cloth bags according to their care label. Moisture and crumbs left in a bag can lead to mold and odors.
A weekly deep clean helps. Wipe the inside and outside of the box, wash the zipper track and seams, and check the ice pack for leaks. Replace any pack that is cracked or leaking.
Allergy-Aware Lunches
Food allergies add a layer to lunch packing. The FDA identifies nine major food allergens in the United States: milk, eggs, fish, crustacean shellfish, tree nuts, peanuts, wheat, soybeans and sesame. Many schools have policies about nut-free tables or classrooms, so check your school’s rules before you pack.
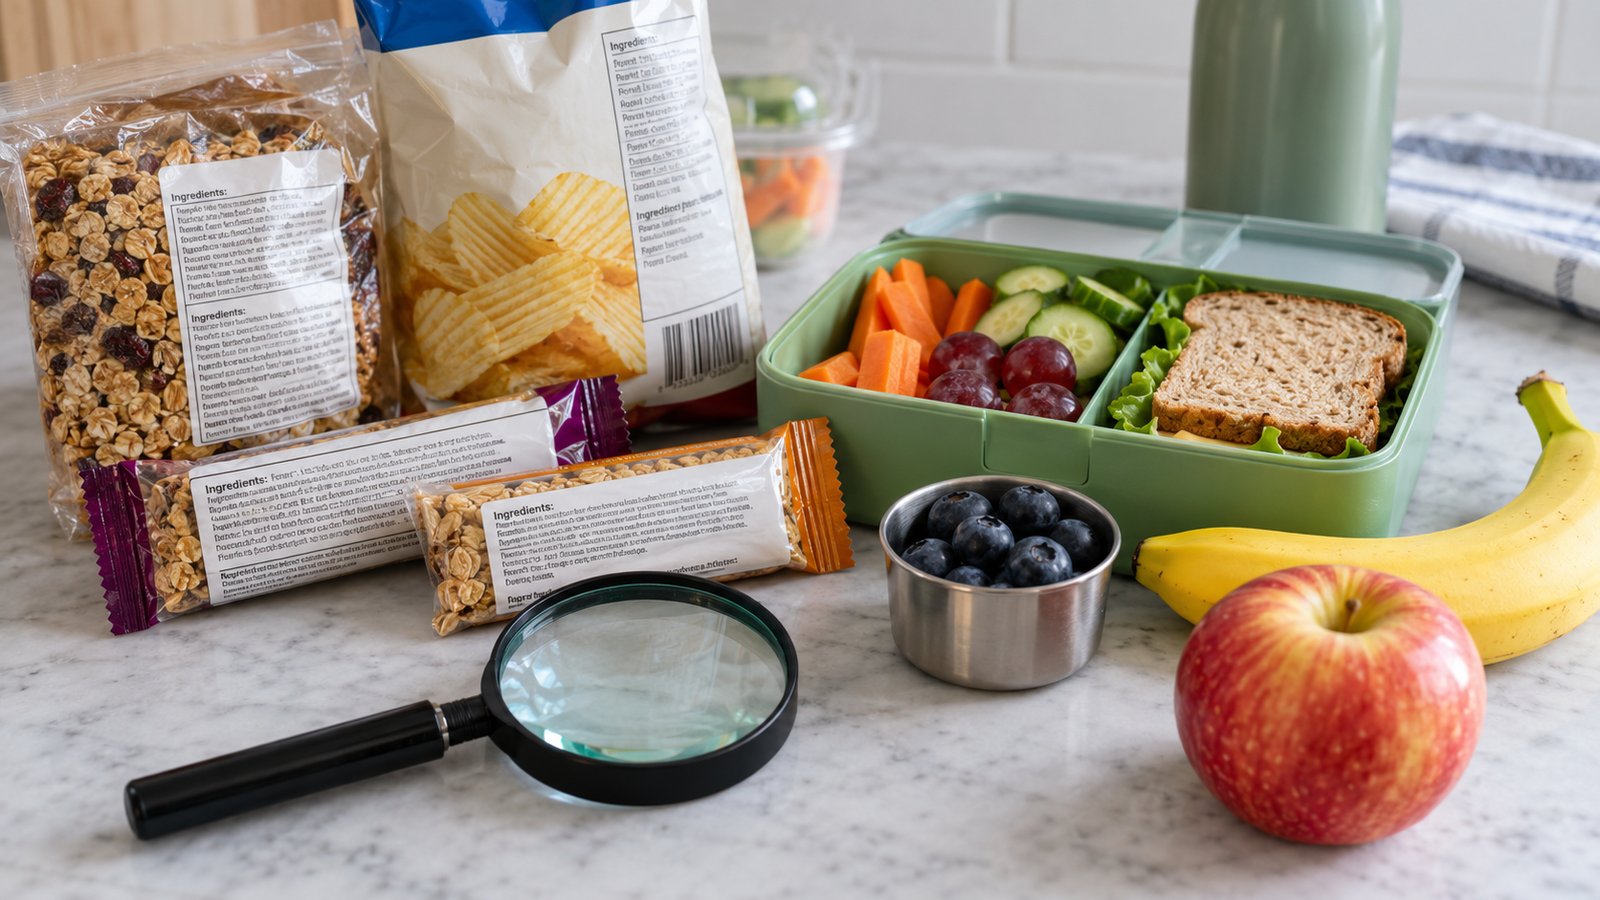
For children with allergies, talk to your pediatrician or allergist about an emergency plan, and make sure the school has a copy. Teach your child never to trade food with friends. Pack safe treats for classroom parties so they never feel left out. Read ingredient labels each time, because manufacturers change recipes. This is general information, not medical advice.
Make Packing Easier With a Routine
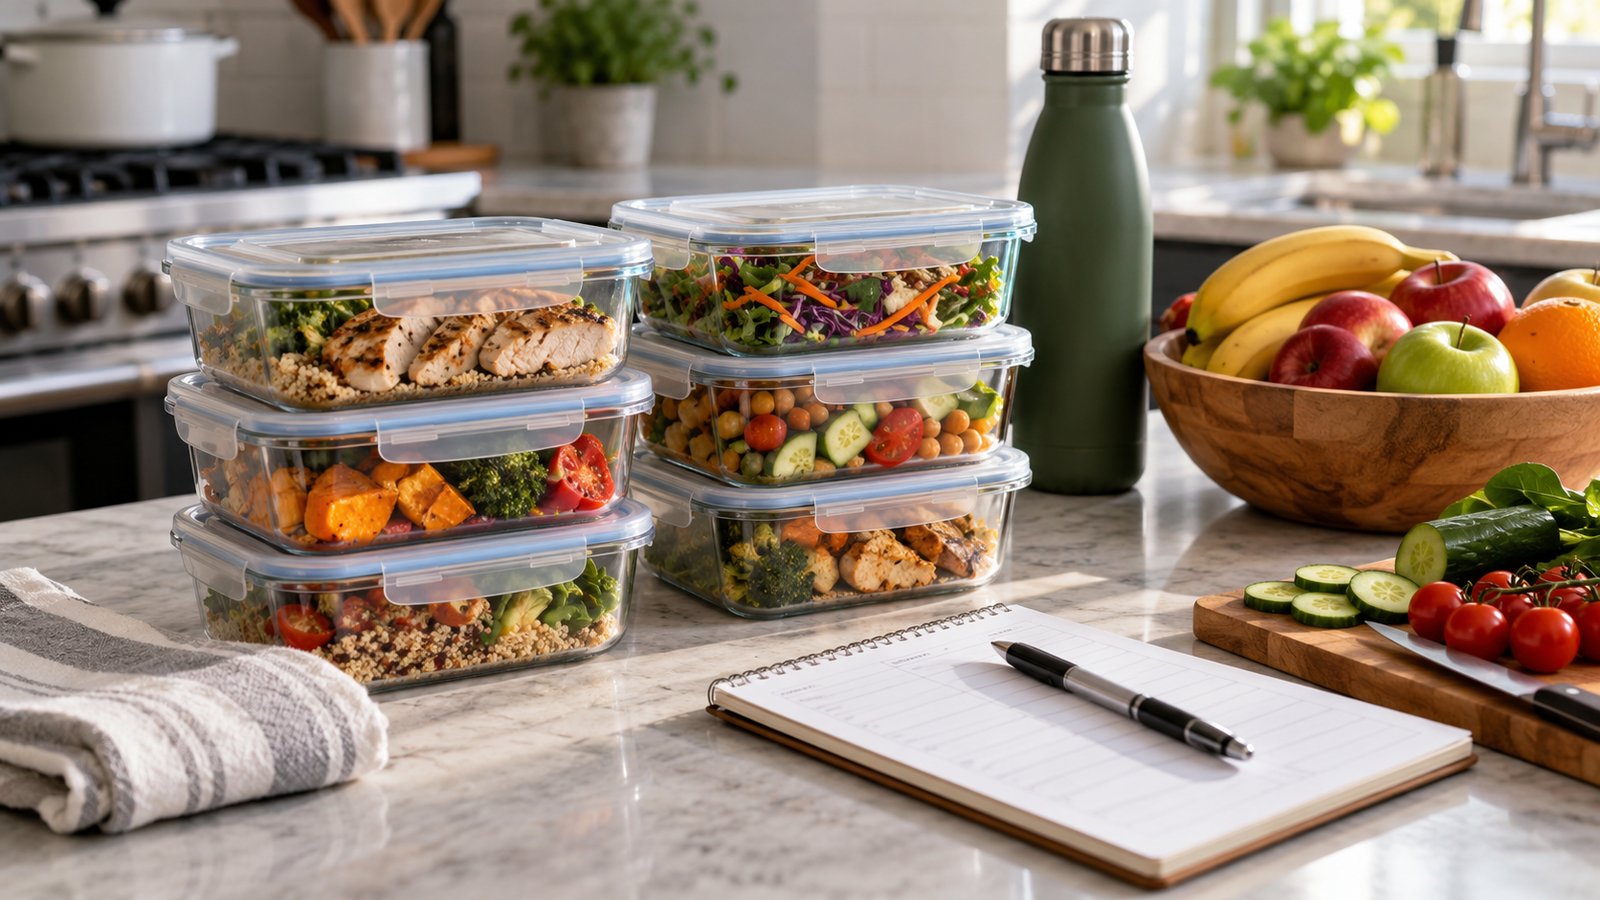
The main reason lunches go wrong is hurry. A repeatable routine takes a lot of the stress out of mornings. Here are a few that work for many households:
- Pick a “packing hour” in the evening, when you put the lunch together with a small bit of music, or while dinner is cleaned up.
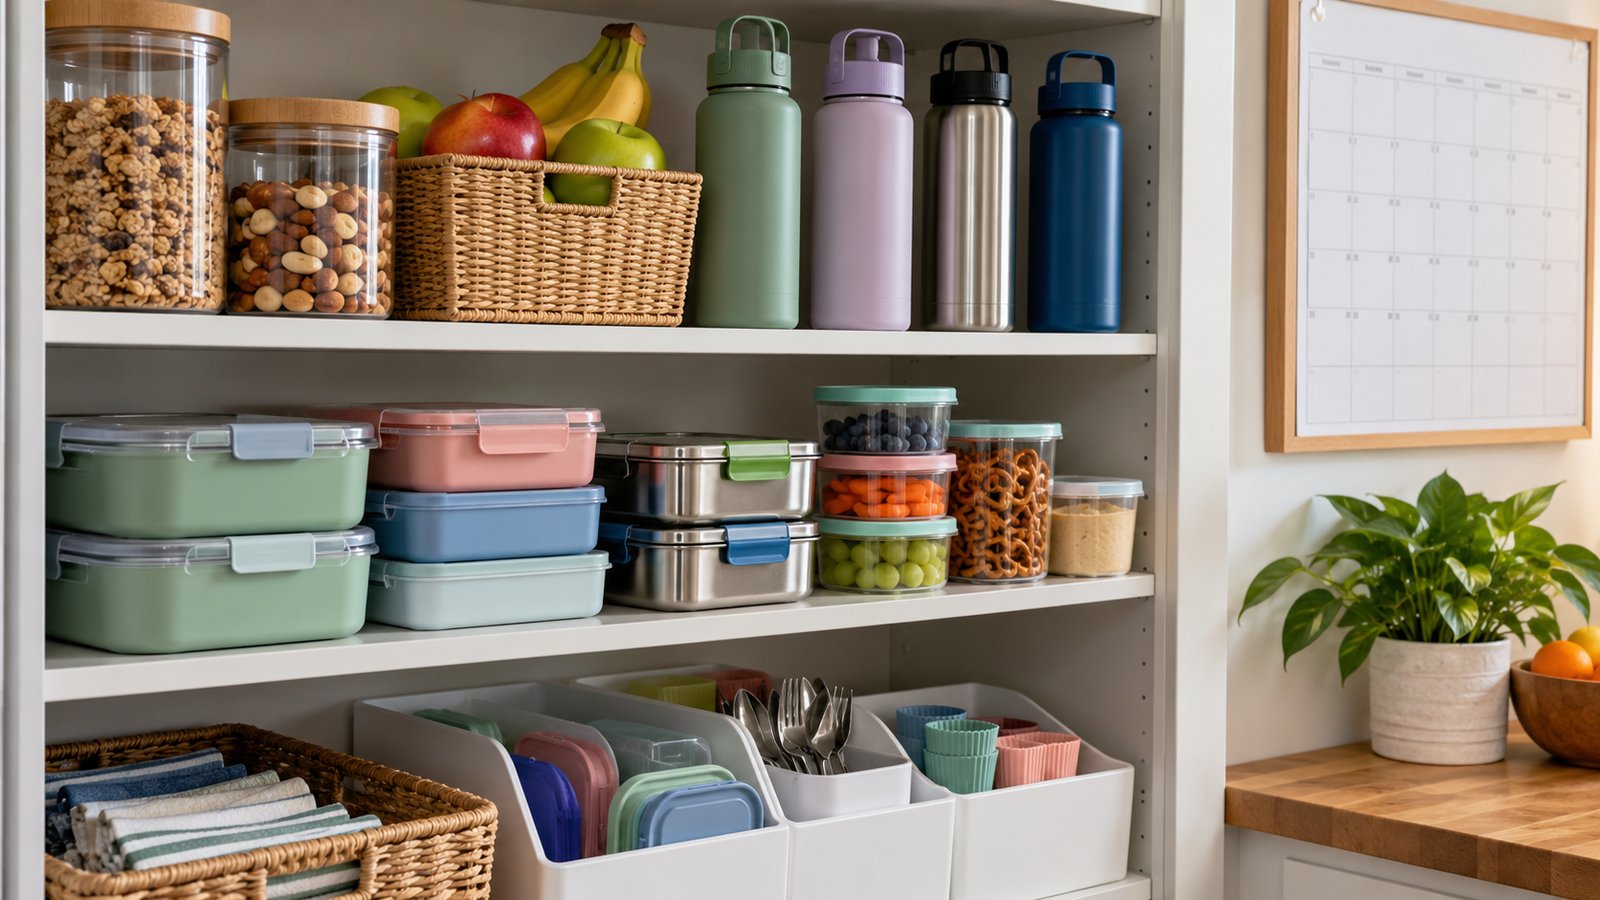
- Set up a lunch station in the kitchen with containers, bags and napkins in one place.
- Use a simple weekly template: one fruit, one vegetable, one protein, one grain and one small treat.
- Let kids choose from two or three options so they have a say in what is going in the box.
If planning is your weak spot, our meal planning printable and weekly meal planning printables make it easy to plan lunches along with dinners. The busy mom meal prep guide has batch-prep ideas that translate well to lunches.
Teach your child a few lunchtime habits
Even young children can learn the basics. Ask them to wash their hands before eating, or to use a hand wipe if the sink is far from the lunch table. Remind them to keep the lunch bag zipped and out of the sun, away from radiators and not on top of a hot locker. Explain in simple words why the ice pack goes next to the yogurt: it is the job of the ice pack to keep the lunch cold, like a little refrigerator.
For older kids who pack their own lunch, a short checklist on the fridge works well: one cold source or two, nothing perishable without it, hands washed, containers closed. Once they have done it a few times, it becomes automatic. Handing over the responsibility also builds independence and takes one job off your morning list.
Field trips, picnics and hot days
Field trips and picnics push lunch safety to the limit, because the bag may sit on a bus or in the sun for hours. On those days, switch to shelf-stable foods when you can, such as sandwiches with a dry filling that meet your school’s allergy rules, crackers with cheese packed with extra ice, whole fruit and veggies, and a frozen water bottle that doubles as a cold drink. Pack a bit more ice than usual and ask your child to keep the bag in the shade. If the temperature is above 90°F, remember the one-hour limit.
Outside of school, the same advice holds for summer camps, sports tournaments and road trips. A small cooler with plenty of ice or frozen gel packs, kept closed and out of direct sun, is a good investment for a family that spends many weekends away from home. Before leaving, chill the cooler itself with ice for a short time so it starts cold.
Frequently Asked Questions
Can I pack a sandwich with deli meat without an ice pack?
The USDA advises against it. Deli meat, cheese and mayonnaise are perishable, and a sandwich without a cold source can sit in the danger zone for hours. Use an insulated bag with two cold sources, or choose a shelf-stable filling.
Is it okay to pack leftovers for lunch?
Yes, if the leftovers were refrigerated within two hours of cooking. Reheat to 165°F for a thermos lunch, or chill thoroughly for a cold lunch.
Do frozen juice boxes or yogurt tubes work as ice packs?
They can serve as one of your cold sources. The USDA suggests at least two, so pair a frozen item with an ice pack for perishable foods.
How long can a lunch sit out safely?
Perishable food should not sit out more than two hours, or one hour when the temperature is above 90°F. Insulation and cold packs extend the time the food stays below 40°F, but they do not stop the clock forever.
What if my child's school has a refrigerator?
Some schools do, but many do not, or the space is limited. Don’t depend on it unless you have confirmed it with the school. Packing an insulated lunch with cold sources is the safer approach.
Sources: USDA Food Safety and Inspection Service, “Keep Your Lunch Safe” and “Danger Zone” guidance; CDC and FoodSafety.gov, four steps to food safety; FDA, major food allergens. Product links are affiliate links. This article is general information and not medical advice.